.png?fit=max&auto=format&n=A6eJvszAoL83-A7S&q=85&s=ab172e8360b4303be4b8af2487703d0c)
Install from Shopify App Store
- Go to the Shopify App Store: apps.shopify.com
- Search for “WTPBiz Photobook Designer” or “Photobook Designer”.
- Click on the app listing and click Install.
- Approve the required permissions in your Shopify admin and click Install App.
- Choose a plan (Monthly or Yearly) and approve the charge. Billing runs through your Shopify bill.
- Once installed, the app appears under Apps > Photobook designer in your Shopify admin.
Direct link: https://apps.shopify.com/wtpbiz-photobook
Permissions Requested
Open the App
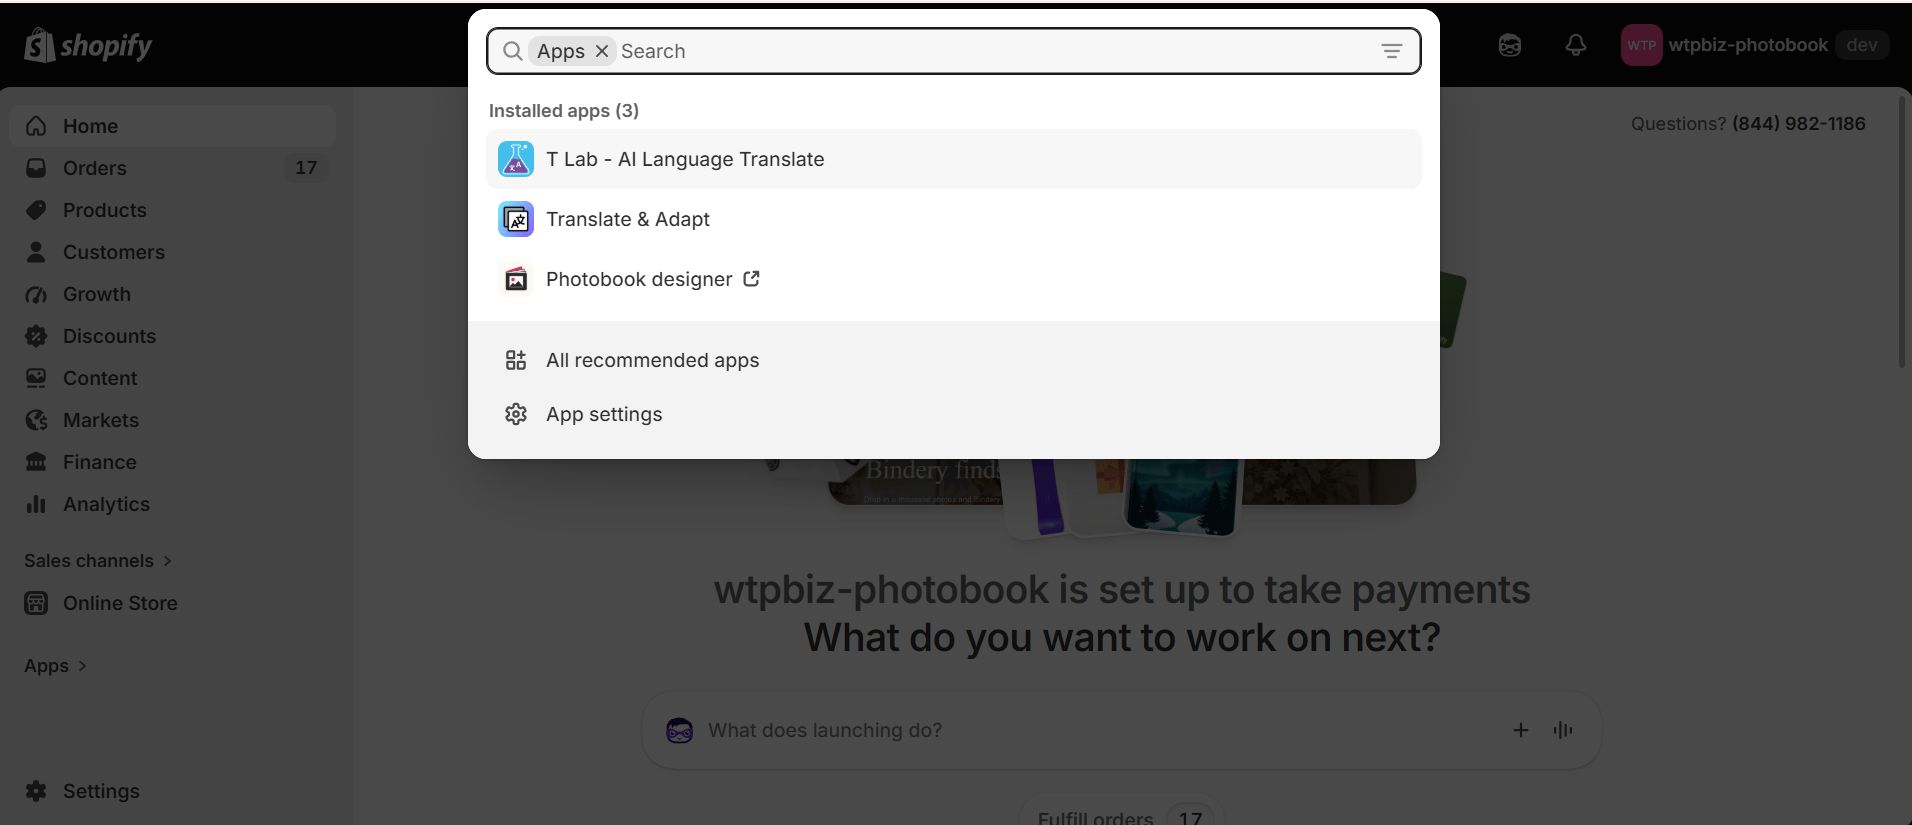
Sign In to the Admin Panel
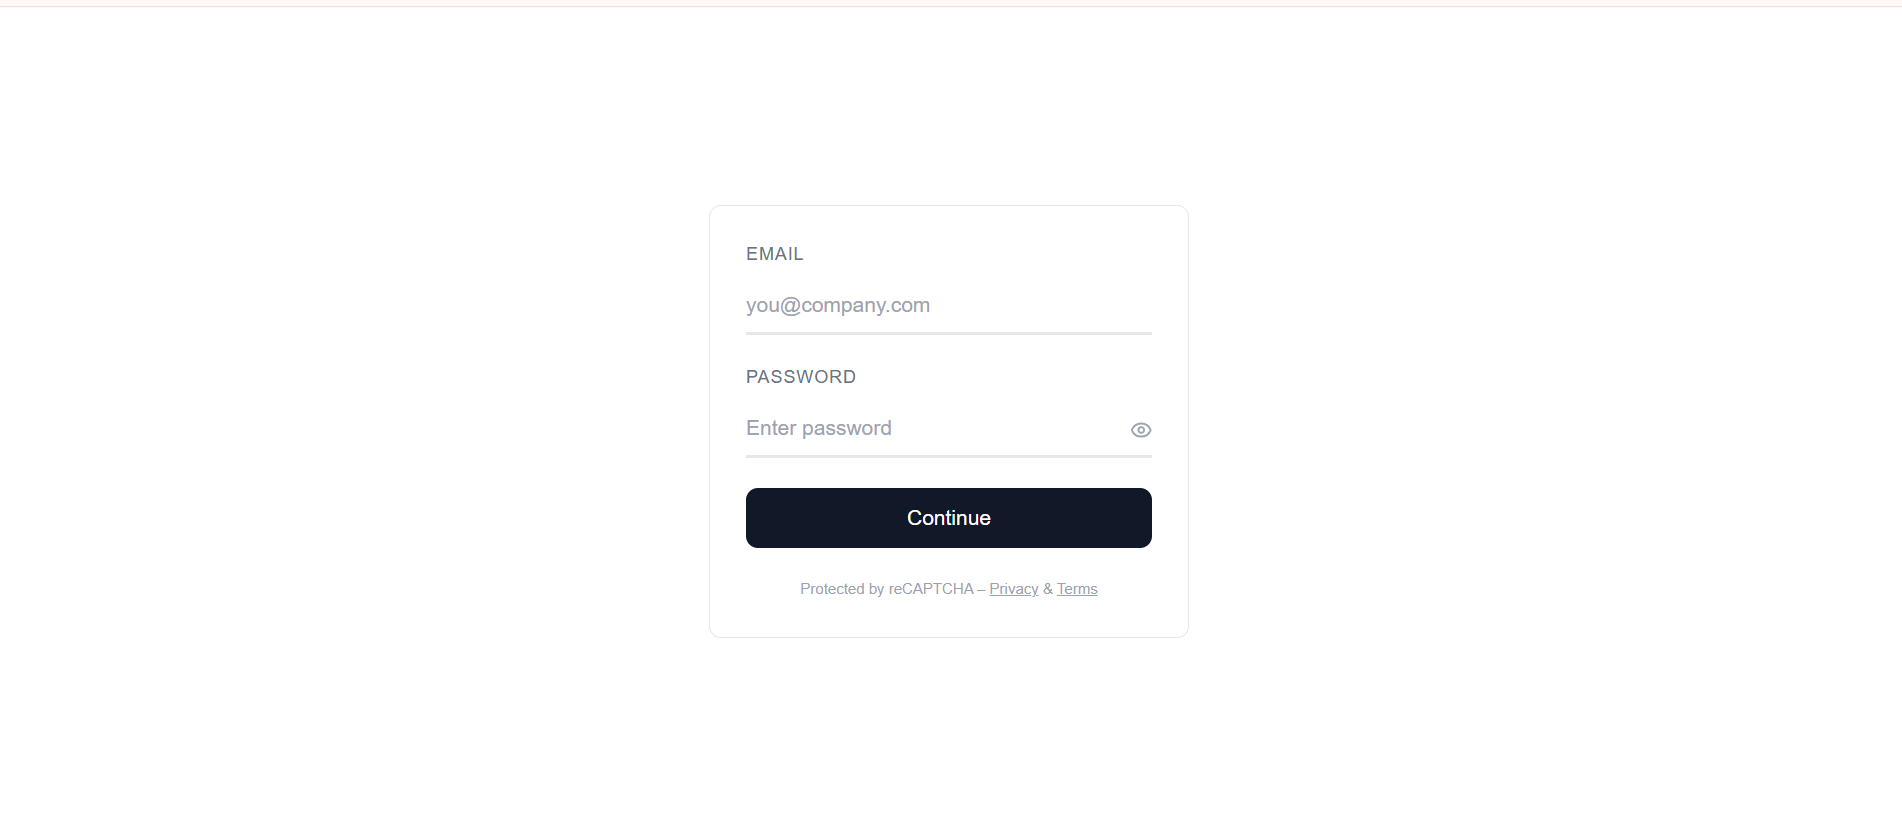
- Enter the Email and Password of your WTPBiz admin account. The eye icon shows the password as you type.
- Click Continue to open the Dashboard.
Your first admin login is created by the WTPBiz team during onboarding. Contact info@wtpbiz.com if you have not received it. Add more staff logins later from Users.
Setup Checklist
Complete these steps in order before selling photo books or calendars:- Brand the panel and design tool in Settings.
- Add team logins in Users.
- Stock the asset library (fonts, text items, colors, cliparts, backgrounds, masks, holidays) in Assets.
- Set up layout categories and layouts in Layouts.
- Create templates and build designs in Templates.
- Link Shopify products to your designs using the design SKU.
- Turn on the app embed and add the Personalize button in your theme. See Integration.
- Place a test order and download the print files from Orders.