.png?fit=max&auto=format&n=A6eJvszAoL83-A7S&q=85&s=ab172e8360b4303be4b8af2487703d0c)
Frames Overview
The Frames section lets you add and manage the frame styles that customers can choose when customizing their photo frame. Each frame style has an image that shows how the frame looks around the photo.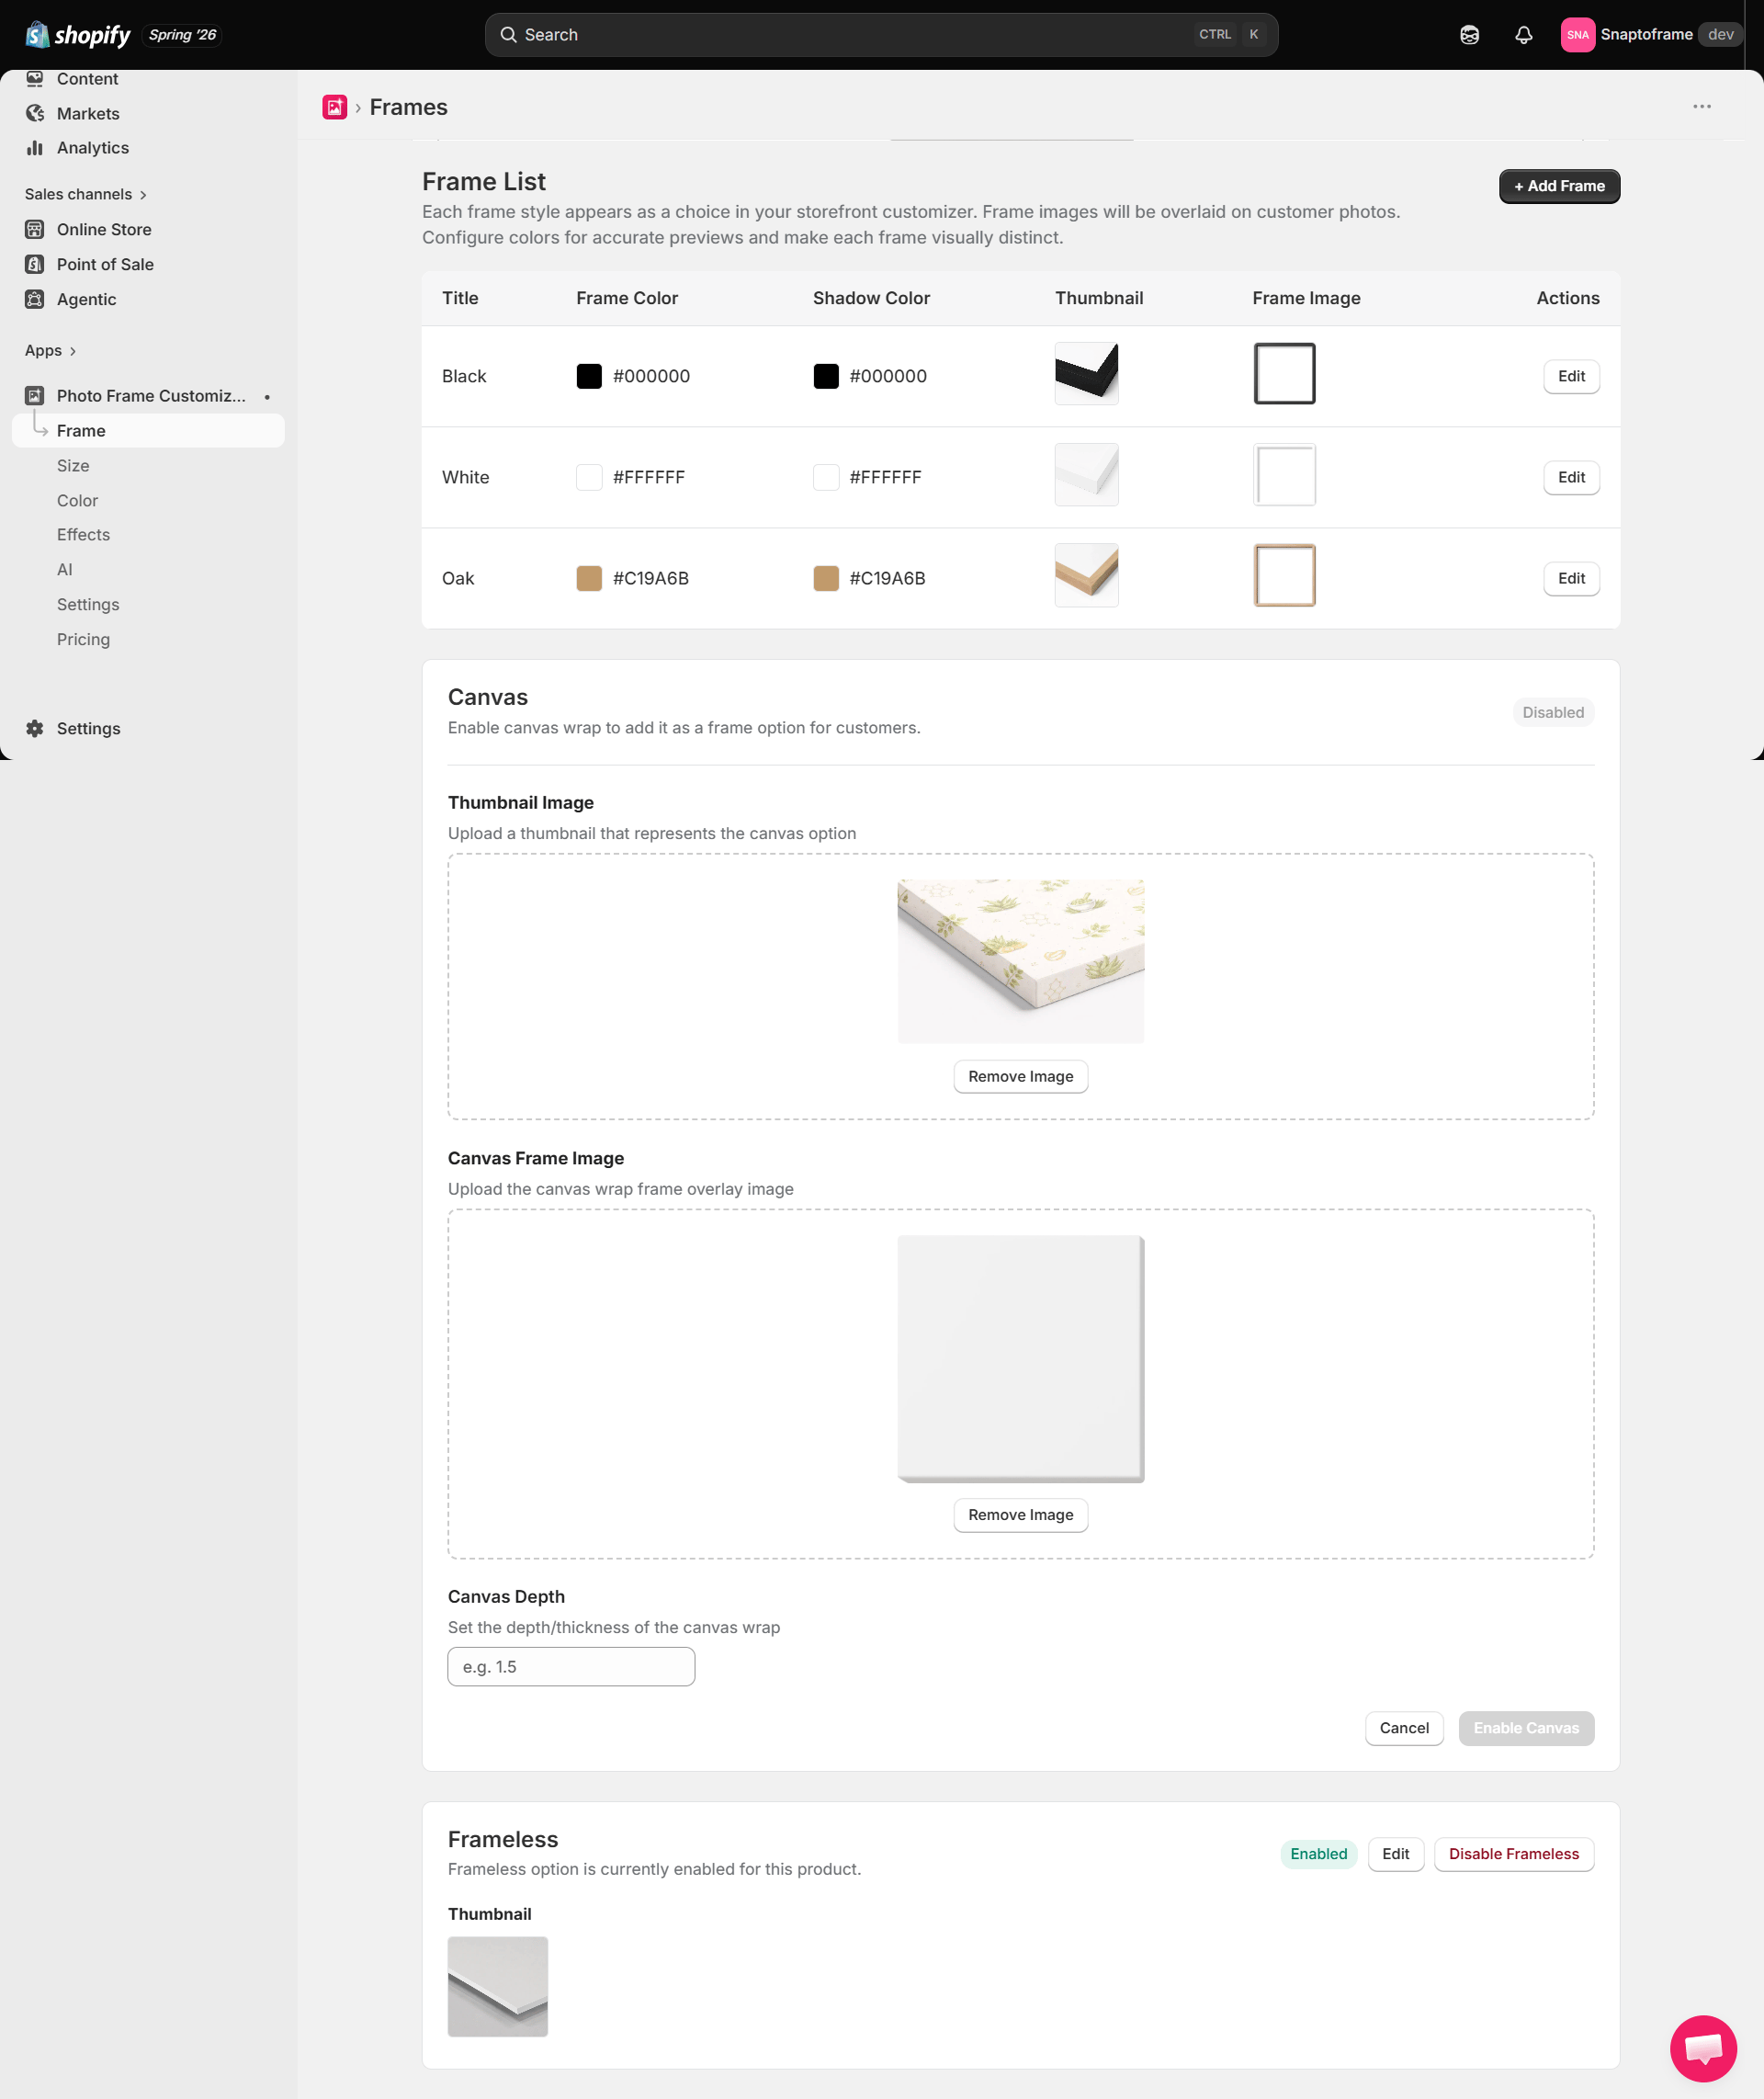
Adding a Frame Style
- In Photo Frame Customizer, navigate to Frames in the sidebar.
- Click Add Frame.
- Fill in the frame details:
- Frame Name — Enter a name for the frame style (e.g., “Classic Black”, “Natural Wood”, “Gold Ornate”).
- Frame Image — Upload an image of the frame. This image is shown as an overlay on the customer’s photo in the customizer.
- Click Save to add the frame style.
Frame Image Requirements
- Format: PNG with a transparent center (the photo appears behind the transparent area).
- Resolution: Use high-resolution images (at least 1000×1000px) for best quality.
- Aspect ratio: Match the frame image to the sizes you have configured — or use a flexible frame design that works across all sizes.
Managing Frames
- Edit: Click the edit icon next to any frame to update its name or image.
- Delete: Click the delete icon to remove a frame style. Removing a frame will not affect existing orders.
- Reorder: Drag frame styles to change the order they appear in the customer customizer.
Customers see your frame images in the Photo Frame Customizer widget on your product page. Make sure frame images are high quality and clearly show the frame style.