.png?fit=max&auto=format&n=A6eJvszAoL83-A7S&q=85&s=ab172e8360b4303be4b8af2487703d0c)
Dashboard Overview
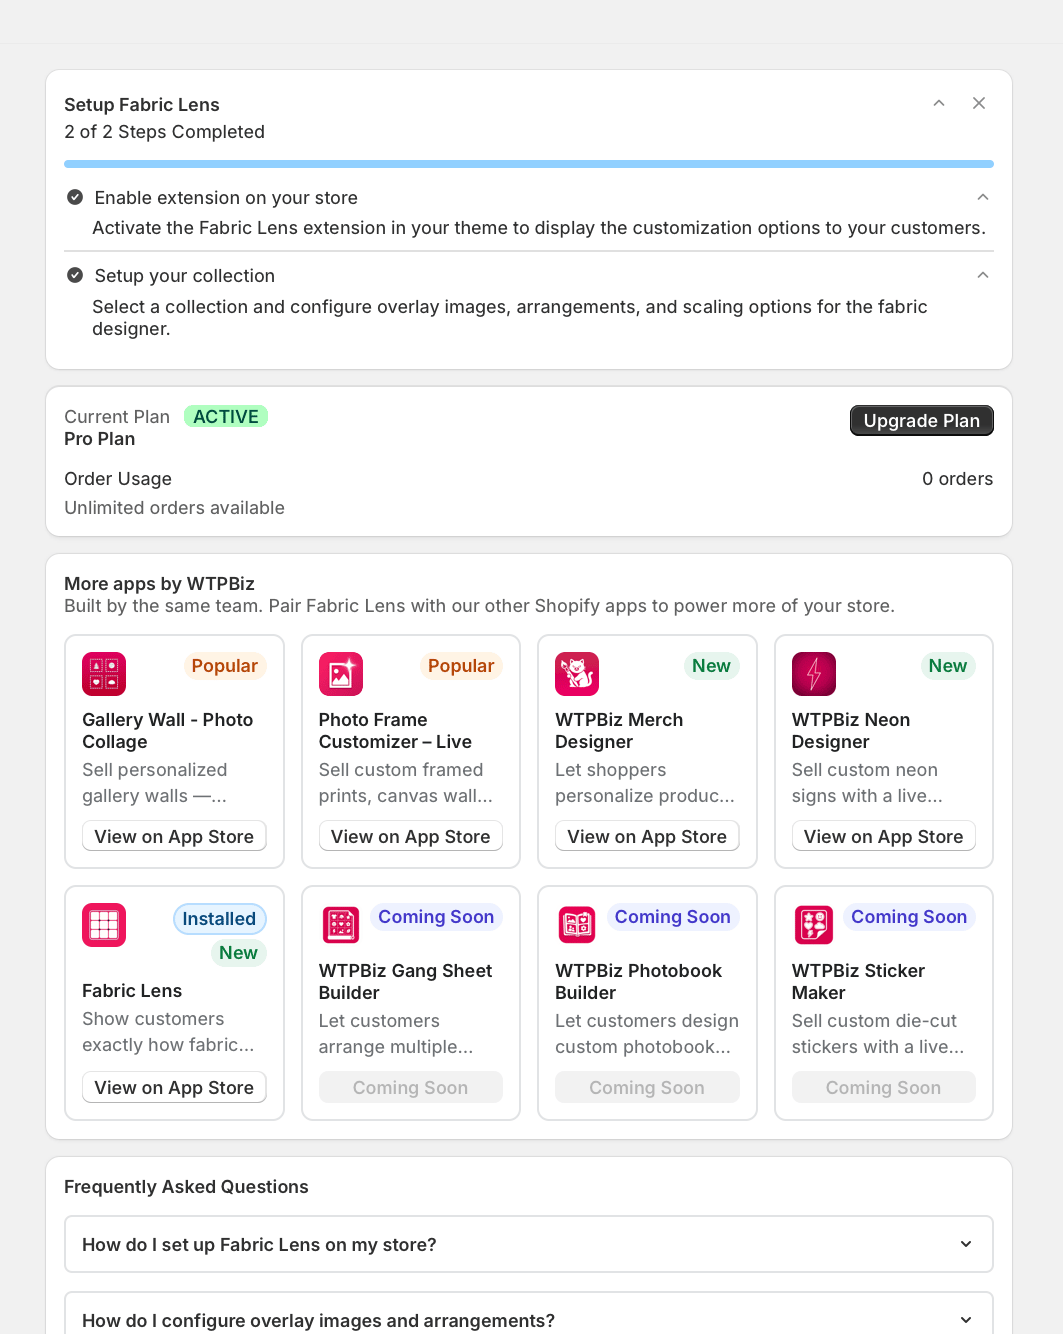
Dashboard Sections
Frames
Manage your available frame styles. Upload PNG frame images with transparent backgrounds, set display names, and enable or disable frames for customer selection.
Sizes
Configure the size options available to customers. Each size can have a custom display name and optional mat width for matted prints.Colors
Define the color swatches customers can choose for their frame. Enter hex color codes and display names for each color option.Effects
Enable photo effects customers can apply to their uploaded photos — including Black & White, Sepia, Vintage, Vivid, Warm, and Cool.AI Portraits
Configure the Fal.ai integration for AI-powered portrait generation. Enter your Fal.ai API key and enable the portrait styles you want to offer.Set Up Product
Link Photo Frame Customizer to a specific Shopify product and configure which options (frames, sizes, colors, effects) are available.Settings
Manage global app settings including your Fal.ai API key and other configuration options.Setup Checklist
Complete these steps to get your customizer live:- Add Frames — Upload at least one frame PNG with a transparent background.
- Configure Sizes — Add the size options you offer (e.g., 8x10, 11x14).
- Set Colors — Add the frame color options customers can choose.
- Enable Effects — Turn on any photo effects you want to offer.
- Set Up Product — Link the customizer to your Shopify product and publish.
Changes made in the dashboard are saved automatically. After making changes, remember to verify them in your live storefront.