.png?fit=max&auto=format&n=A6eJvszAoL83-A7S&q=85&s=ab172e8360b4303be4b8af2487703d0c)
Settings Overview
The Settings page lets you control the look and feel of the customer-facing SheetSnap builder. Changes here apply globally across all your SheetSnap products.Color Palette
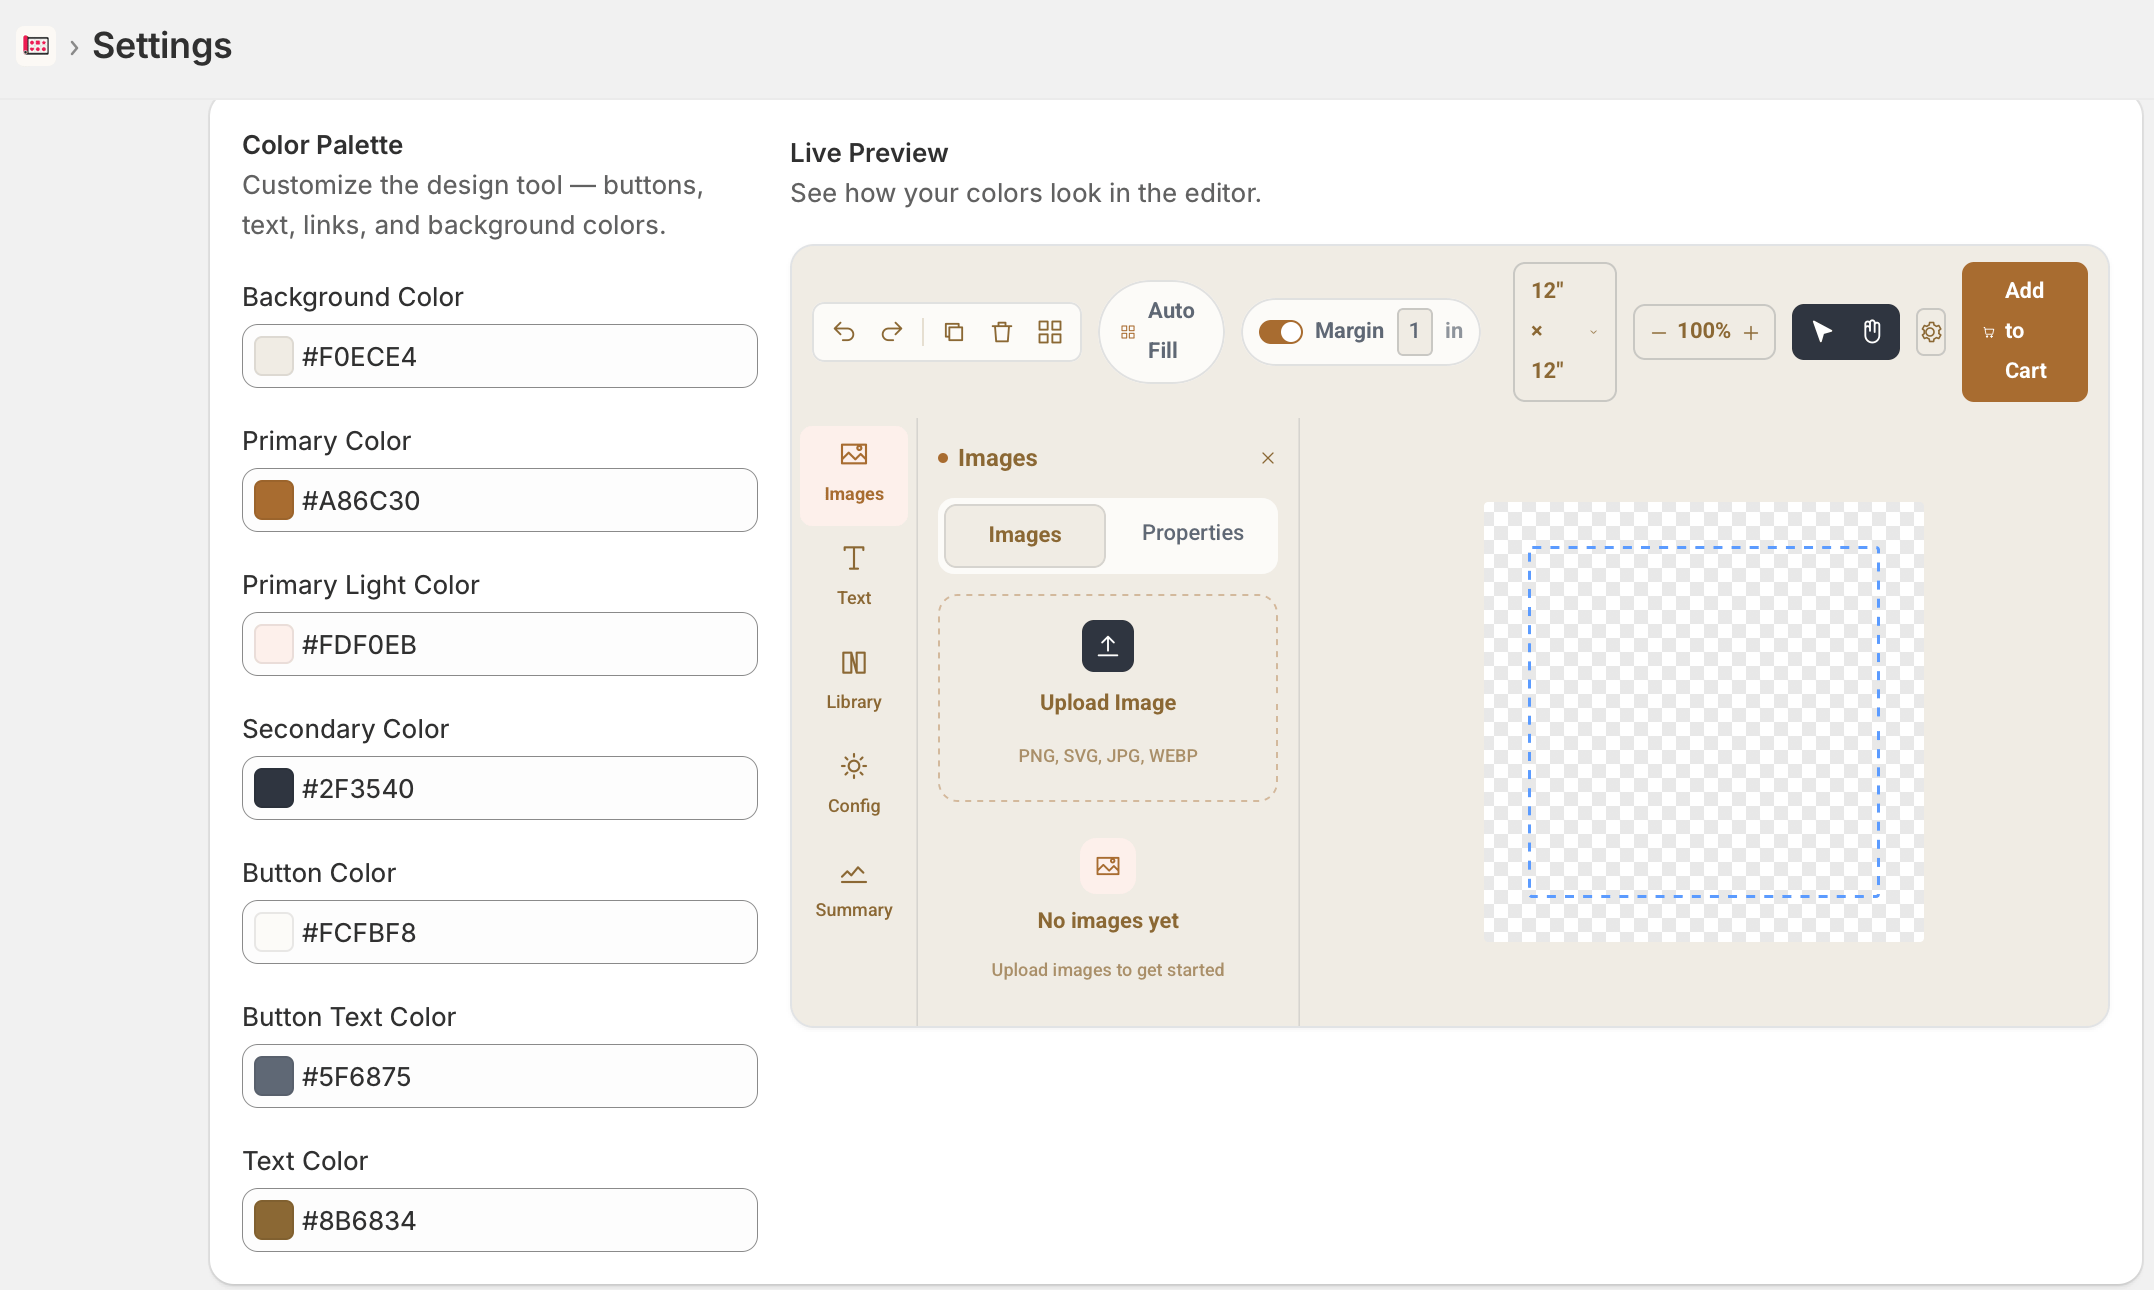
The Color Palette section lets you define the brand colors used in the SheetSnap editor — including buttons, text, links, and background colors. A Live Preview panel on the right shows how your changes look in real time.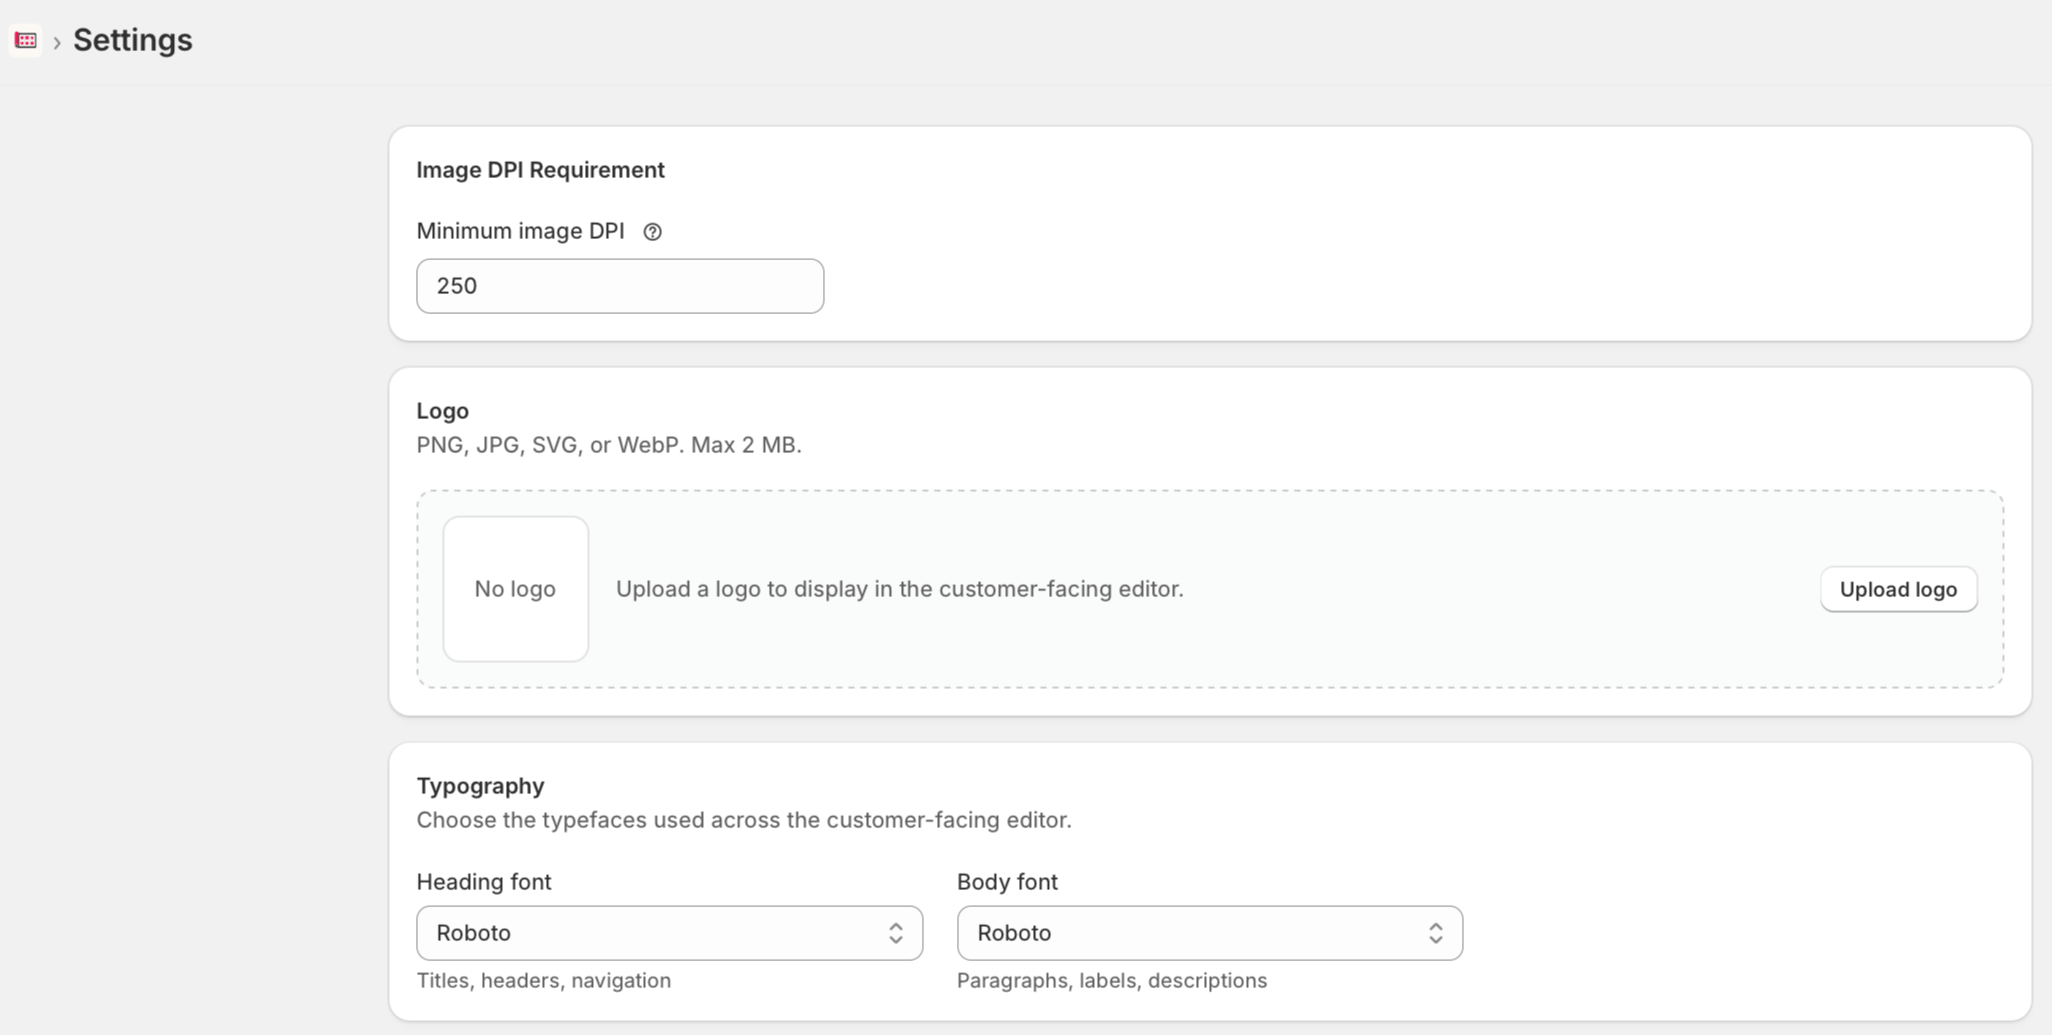
Enter a valid hex code (e.g.,
#A86C30) in each field. The Live Preview updates as you type.
Image DPI Requirement
Requiring a minimum DPI ensures uploaded artwork is print-ready. Customers uploading low-resolution images will receive a warning in the editor.
- Click the Minimum image DPI field.
- Enter your required DPI value.
- Save your settings.
Logo
Upload your store logo to display it in the customer-facing SheetSnap editor. Accepted formats are PNG, JPG, SVG, or WebP — maximum file size is 2 MB. To upload a logo:- In the Logo section, click Upload logo.
- Select your logo file from your computer.
- The logo will appear in the editor header for your customers.
Typography
The Typography section lets you choose the fonts displayed in the SheetSnap editor for headings and body text.
To change a font:
- Click the dropdown under Heading font or Body font.
- Select a font from the list.
- Save your settings.
Custom fonts uploaded on the Fonts page are available in the typography dropdowns.