> ## Documentation Index
> Fetch the complete documentation index at: https://help.wtpbiz.com/llms.txt
> Use this file to discover all available pages before exploring further.
# Assets
> Manage the fonts, text items, colors, cliparts, backgrounds, masks and holidays customers use in the editor.
## Assets Overview
Assets is the shared library the design editor draws from. Every asset page has the same layout: a summary strip, a search box, an **Add** button at the top right, and a table with edit (pencil) and delete (bin) on each row. Pages with images also have a view (eye) button.
Fill these libraries before building designs, so the artwork you and your customers need is ready in the editor.
## Fonts
Go to **Sidebar > Assets > Font**.
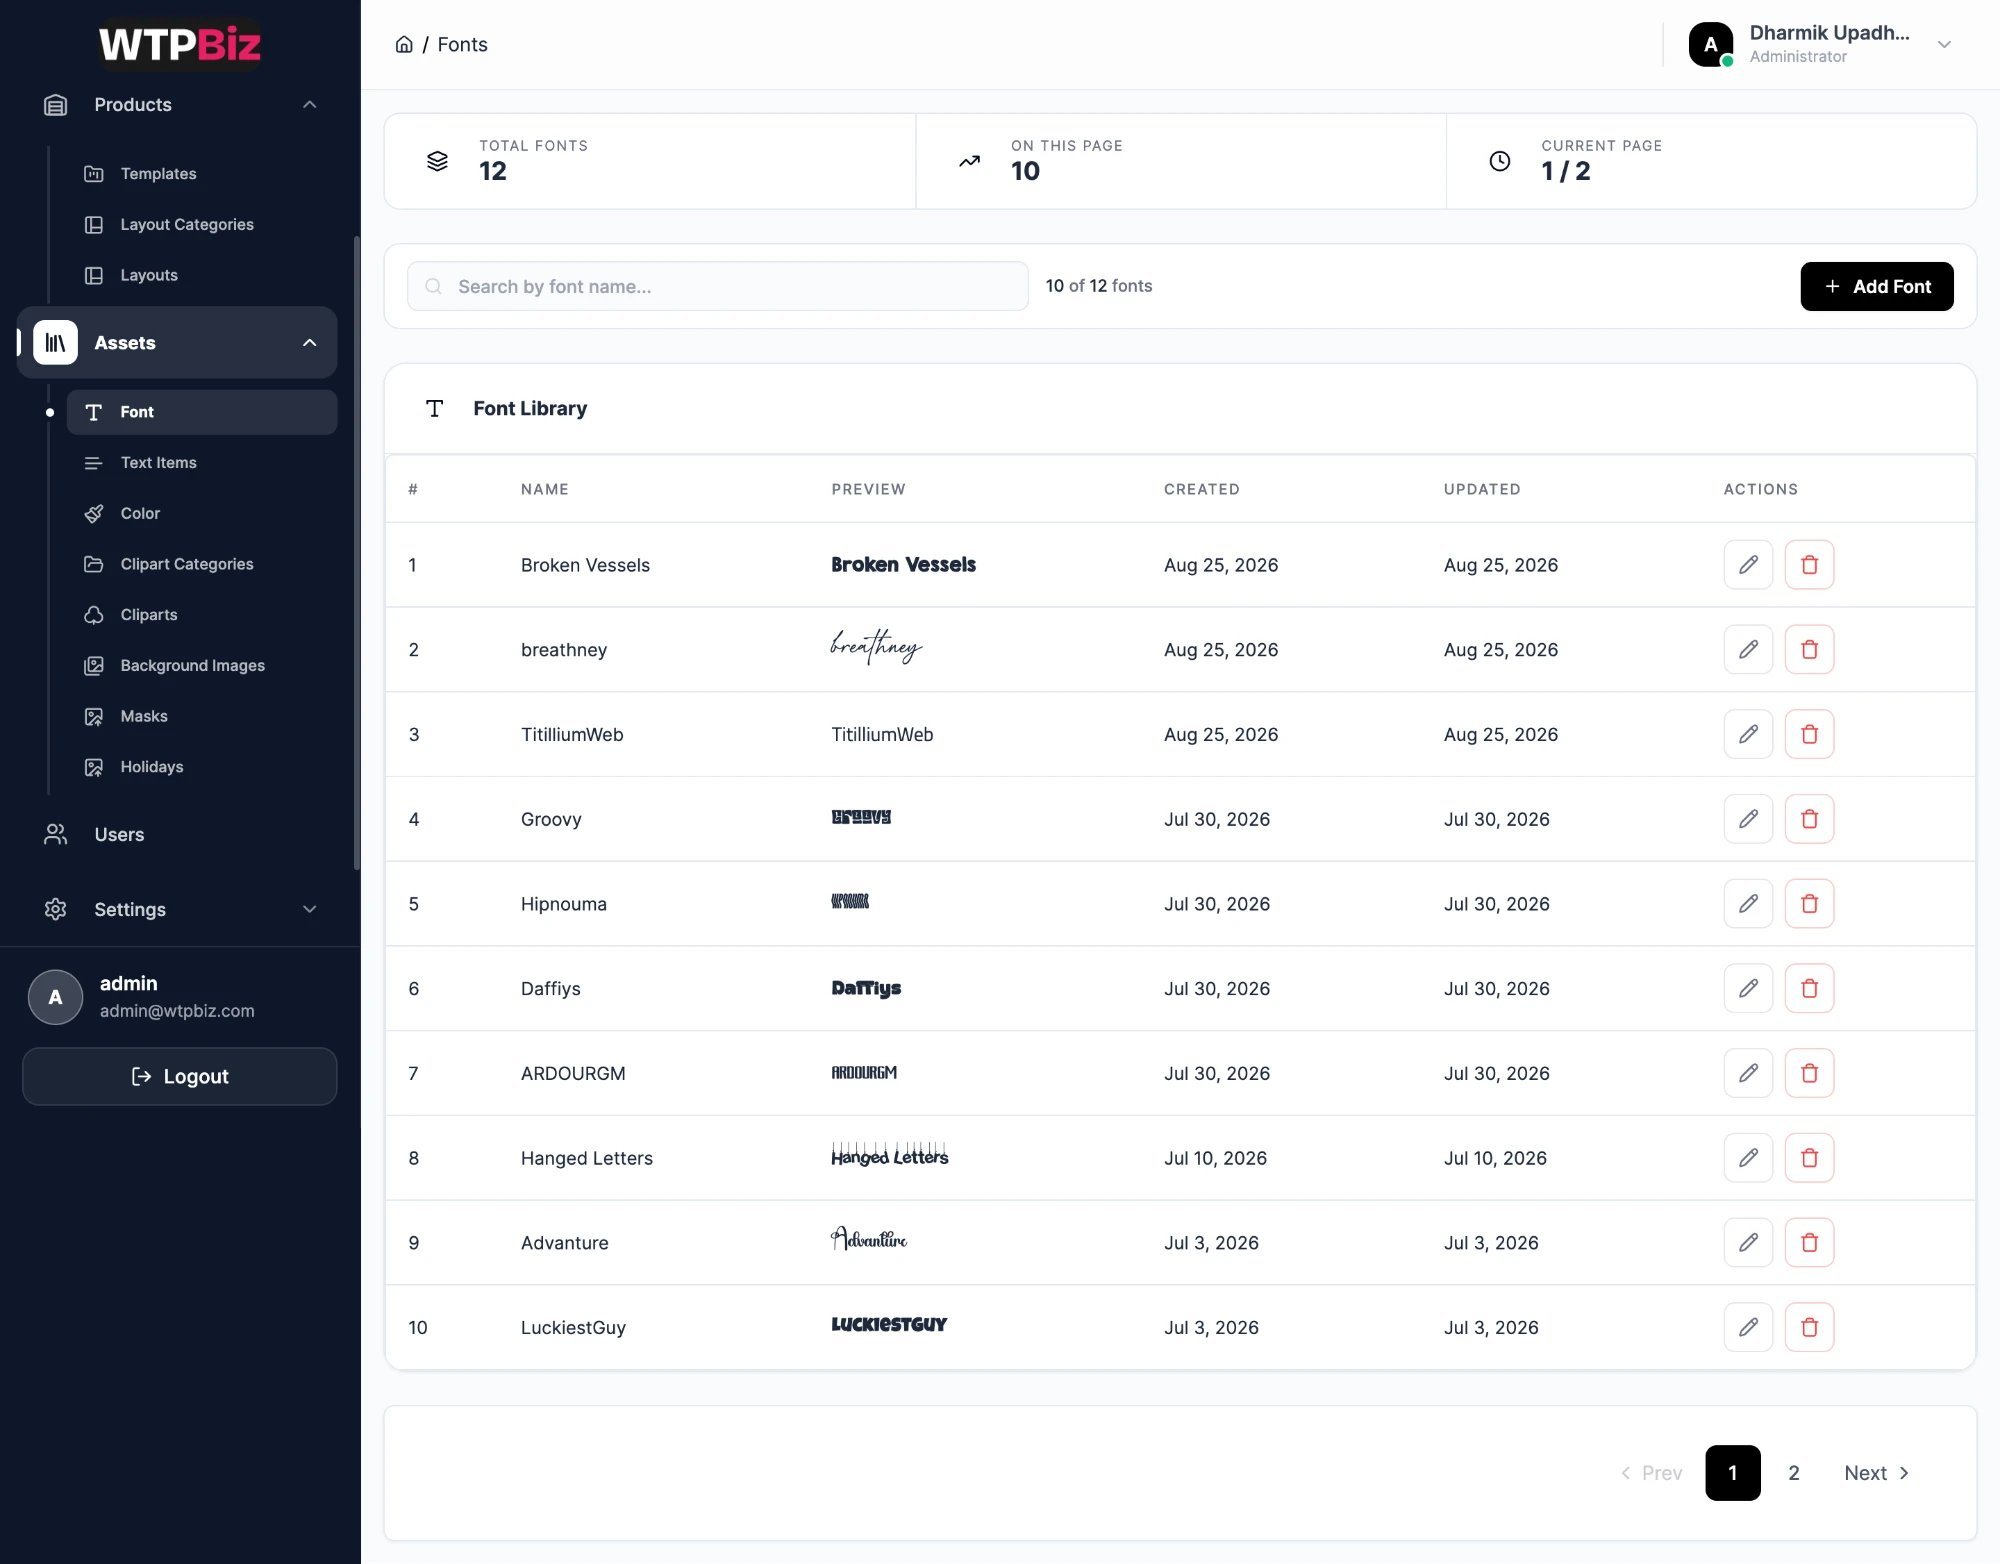 The **Font Library** lists every typeface customers can choose in the editor, with a live preview. Click **Add Font** to upload a new font file.
Only upload fonts you are licensed to use for print and commercial products.
## Text Items
Go to **Sidebar > Assets > Text Items**.
The **Font Library** lists every typeface customers can choose in the editor, with a live preview. Click **Add Font** to upload a new font file.
Only upload fonts you are licensed to use for print and commercial products.
## Text Items
Go to **Sidebar > Assets > Text Items**.
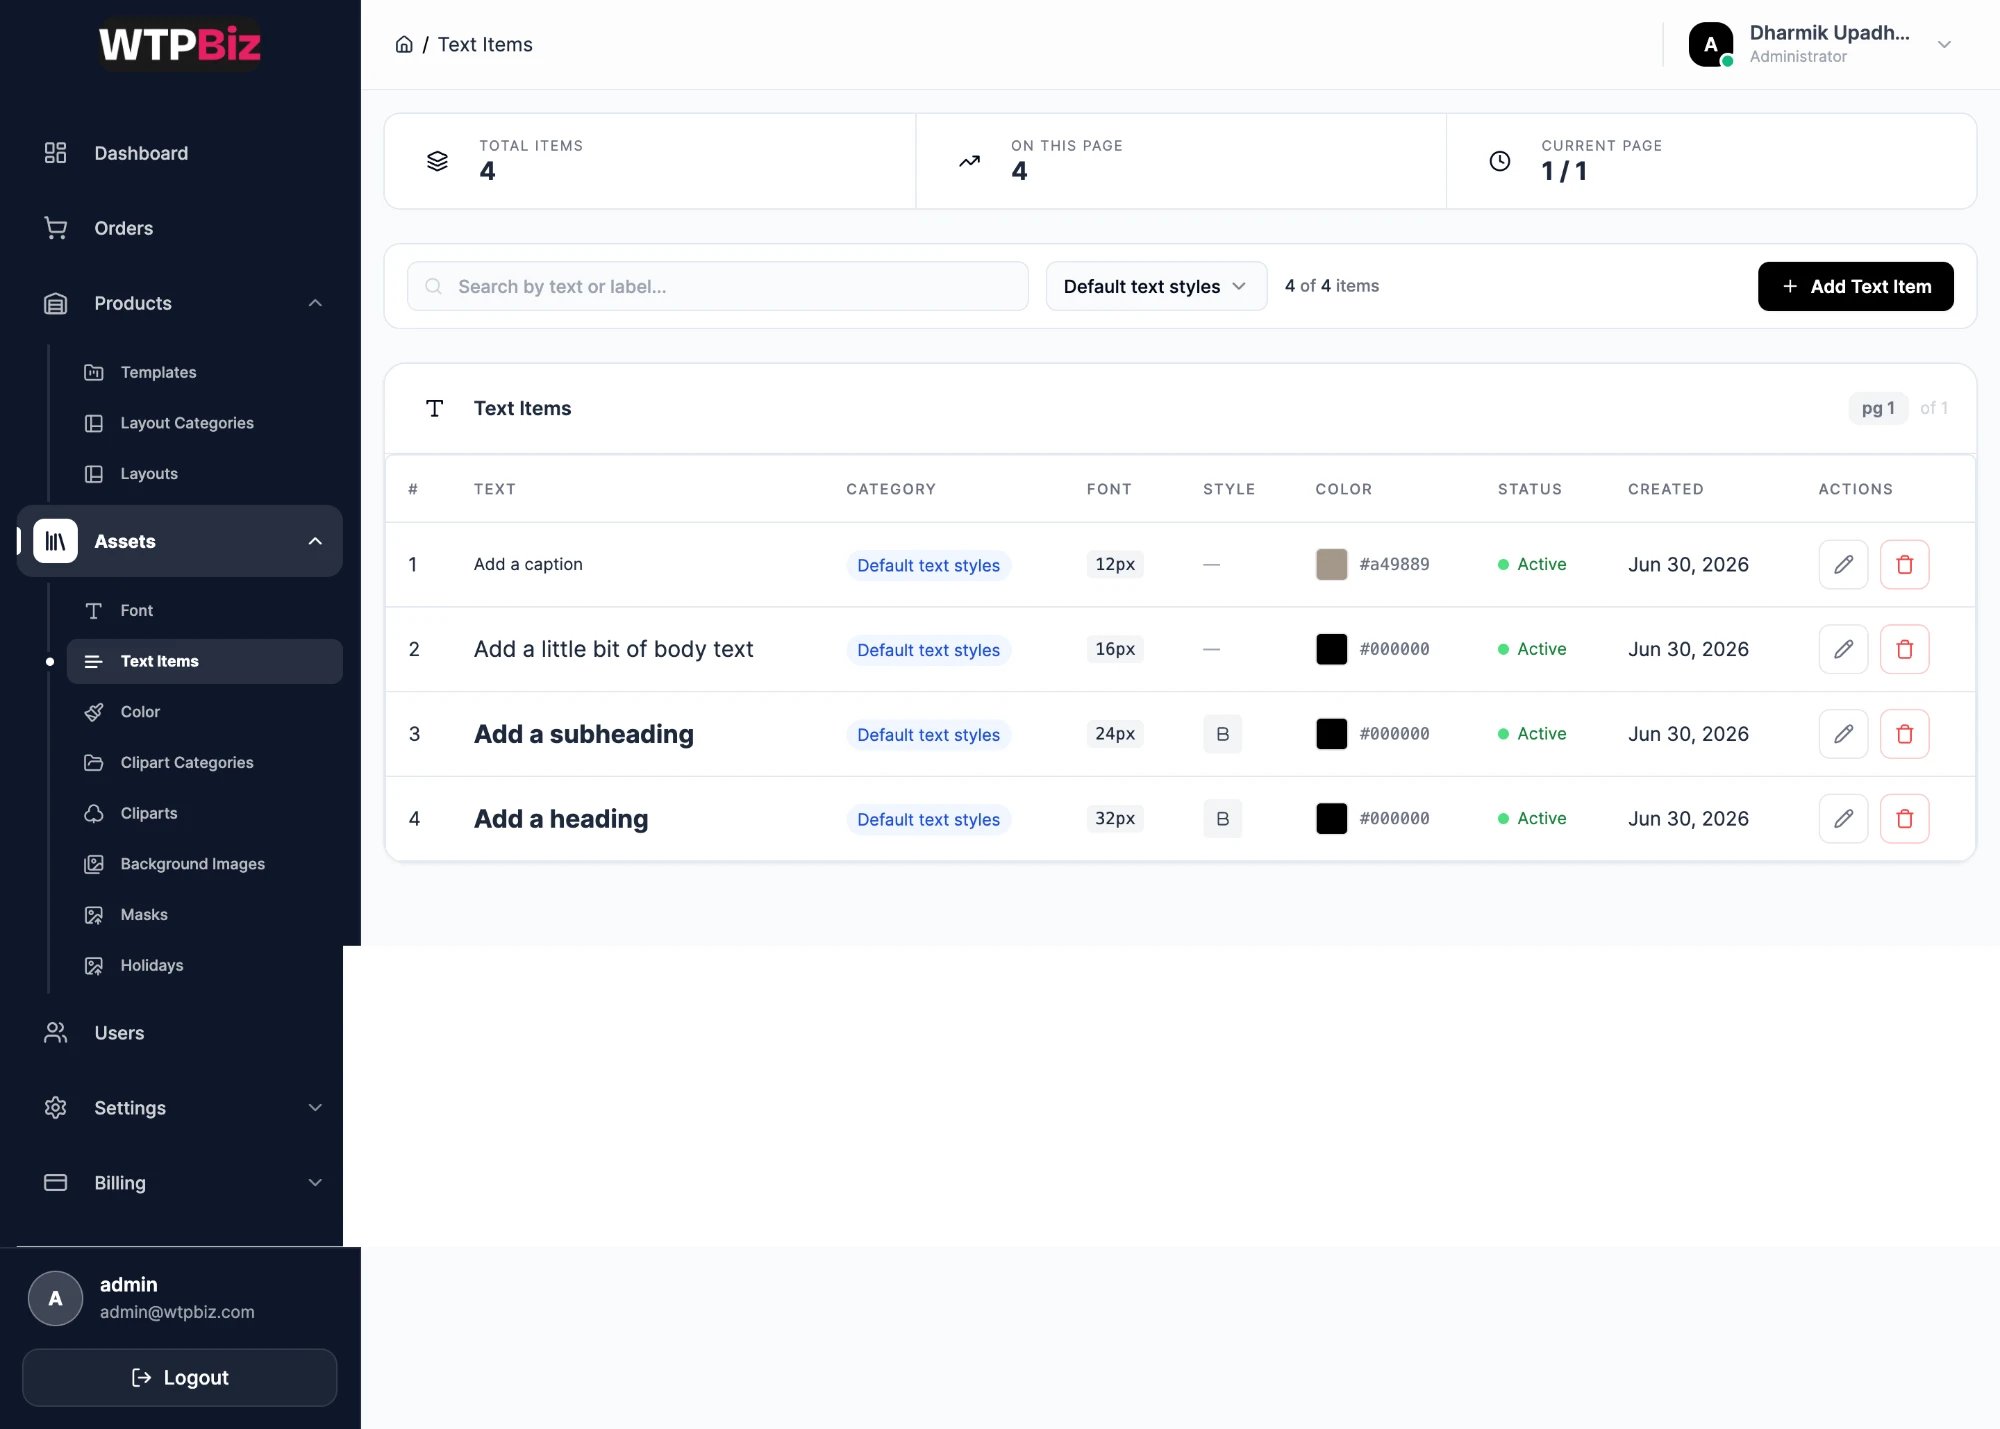 Text items are ready-made text boxes customers drop onto a page, with font size, weight and color already set. The default set includes a caption, body text, a subheading and a heading. Each row shows text, category, font size, style, color, status and created date. Click **Add Text Item** to create a new preset.
## Colors
Go to **Sidebar > Assets > Color**.
Text items are ready-made text boxes customers drop onto a page, with font size, weight and color already set. The default set includes a caption, body text, a subheading and a heading. Each row shows text, category, font size, style, color, status and created date. Click **Add Text Item** to create a new preset.
## Colors
Go to **Sidebar > Assets > Color**.
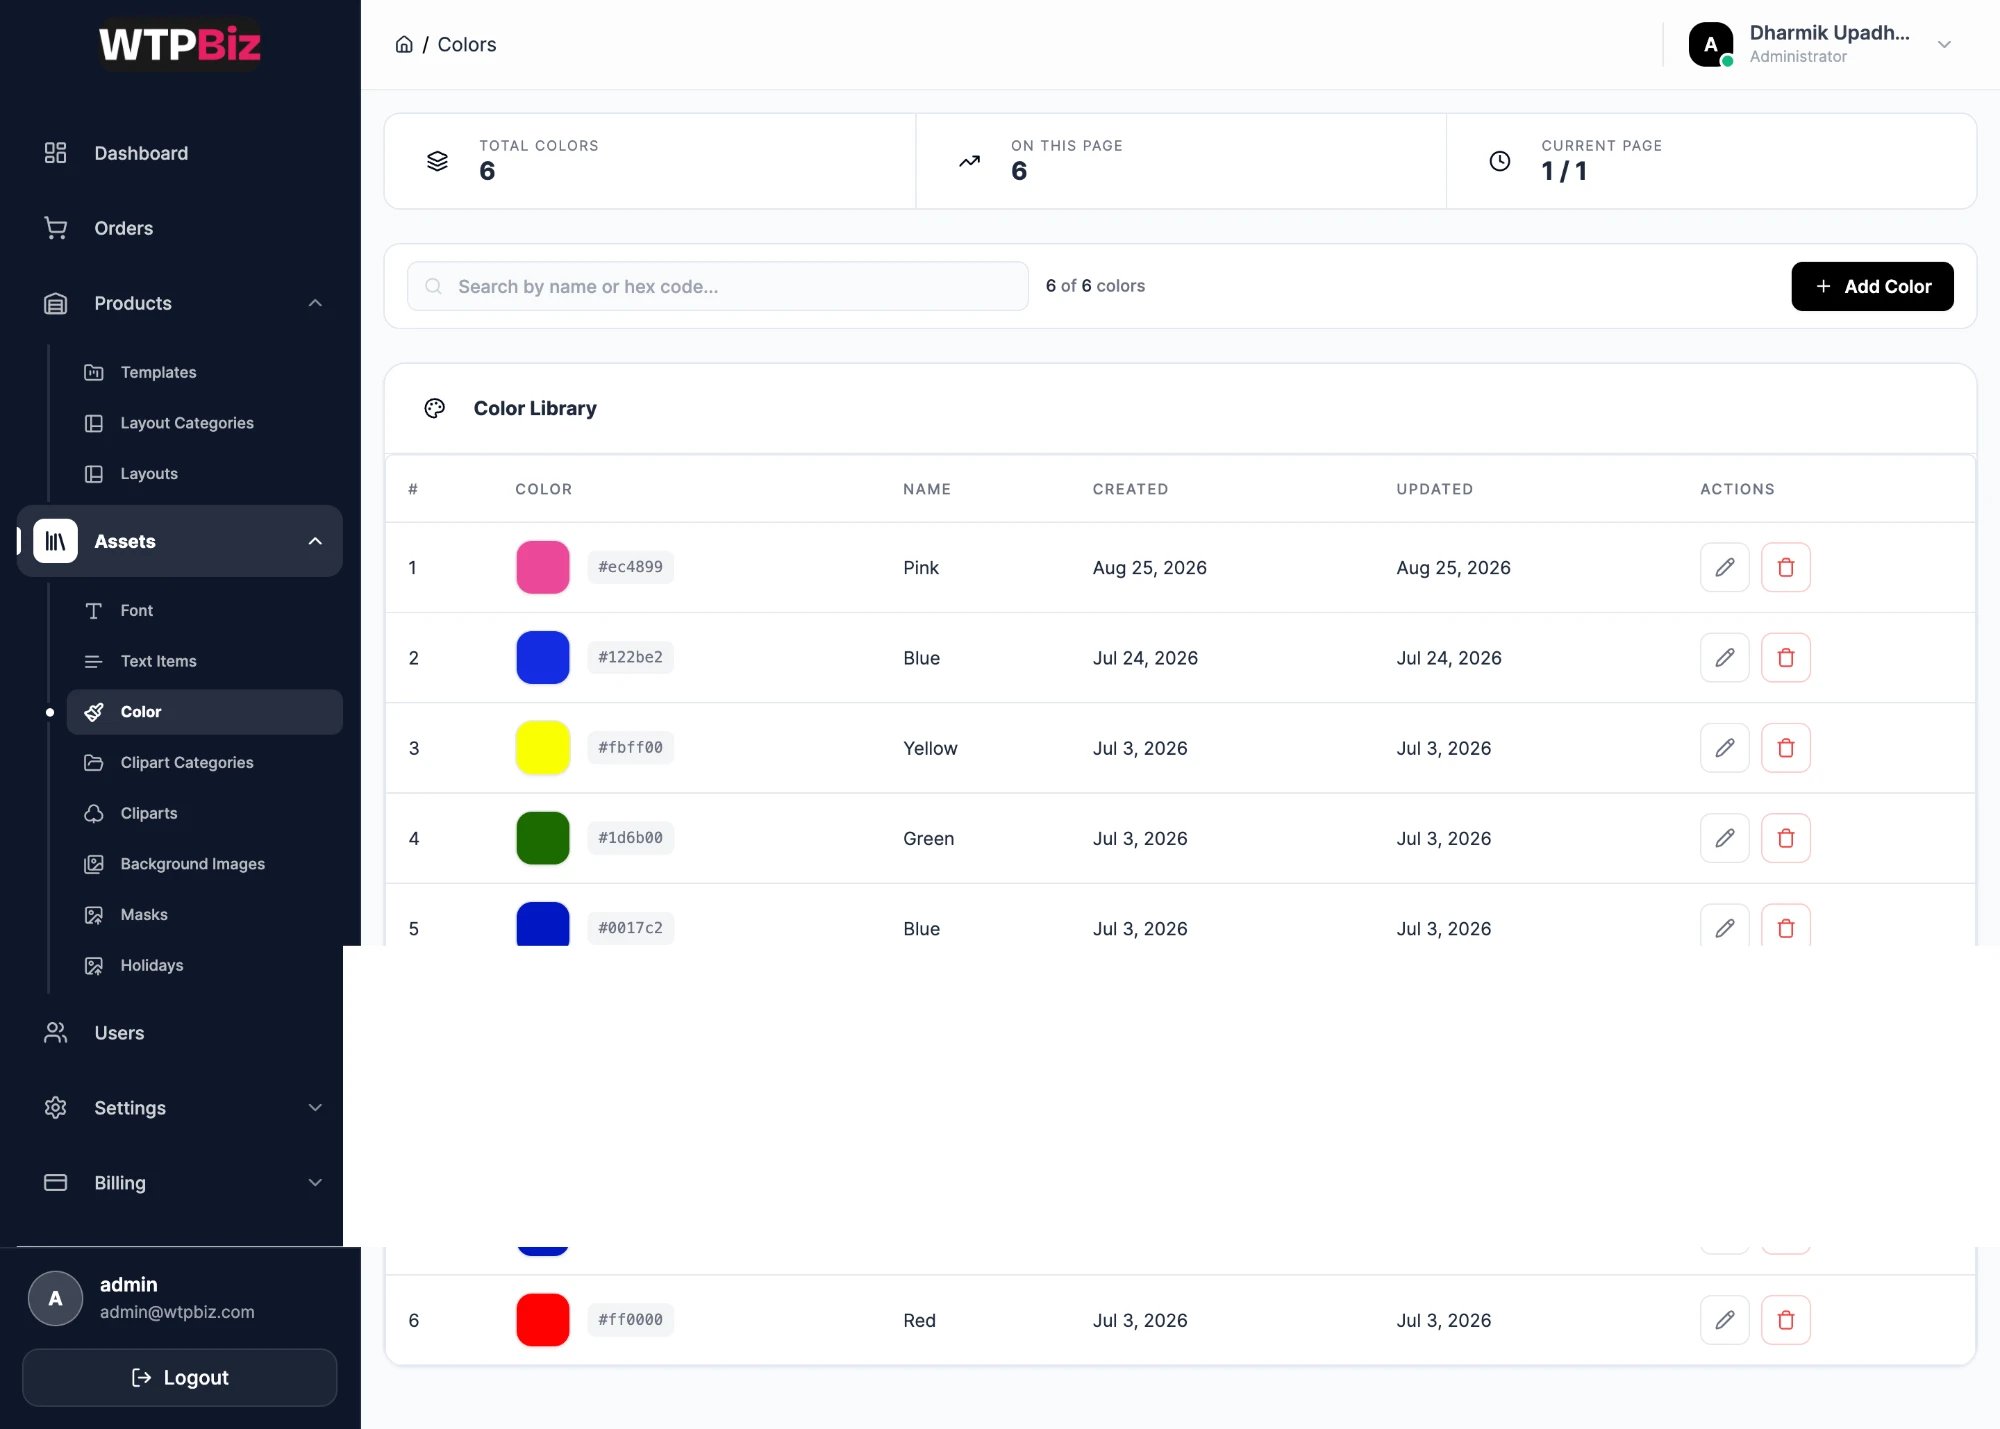 The **Color Library** is the palette customers pick from for text and shapes. Each row has a swatch, hex code and name. Click **Add Color** and enter a name and hex value. Add your brand colors so customer designs stay on-brand.
## Clipart Categories
Go to **Sidebar > Assets > Clipart Categories**.
The **Color Library** is the palette customers pick from for text and shapes. Each row has a swatch, hex code and name. Click **Add Color** and enter a name and hex value. Add your brand colors so customer designs stay on-brand.
## Clipart Categories
Go to **Sidebar > Assets > Clipart Categories**.
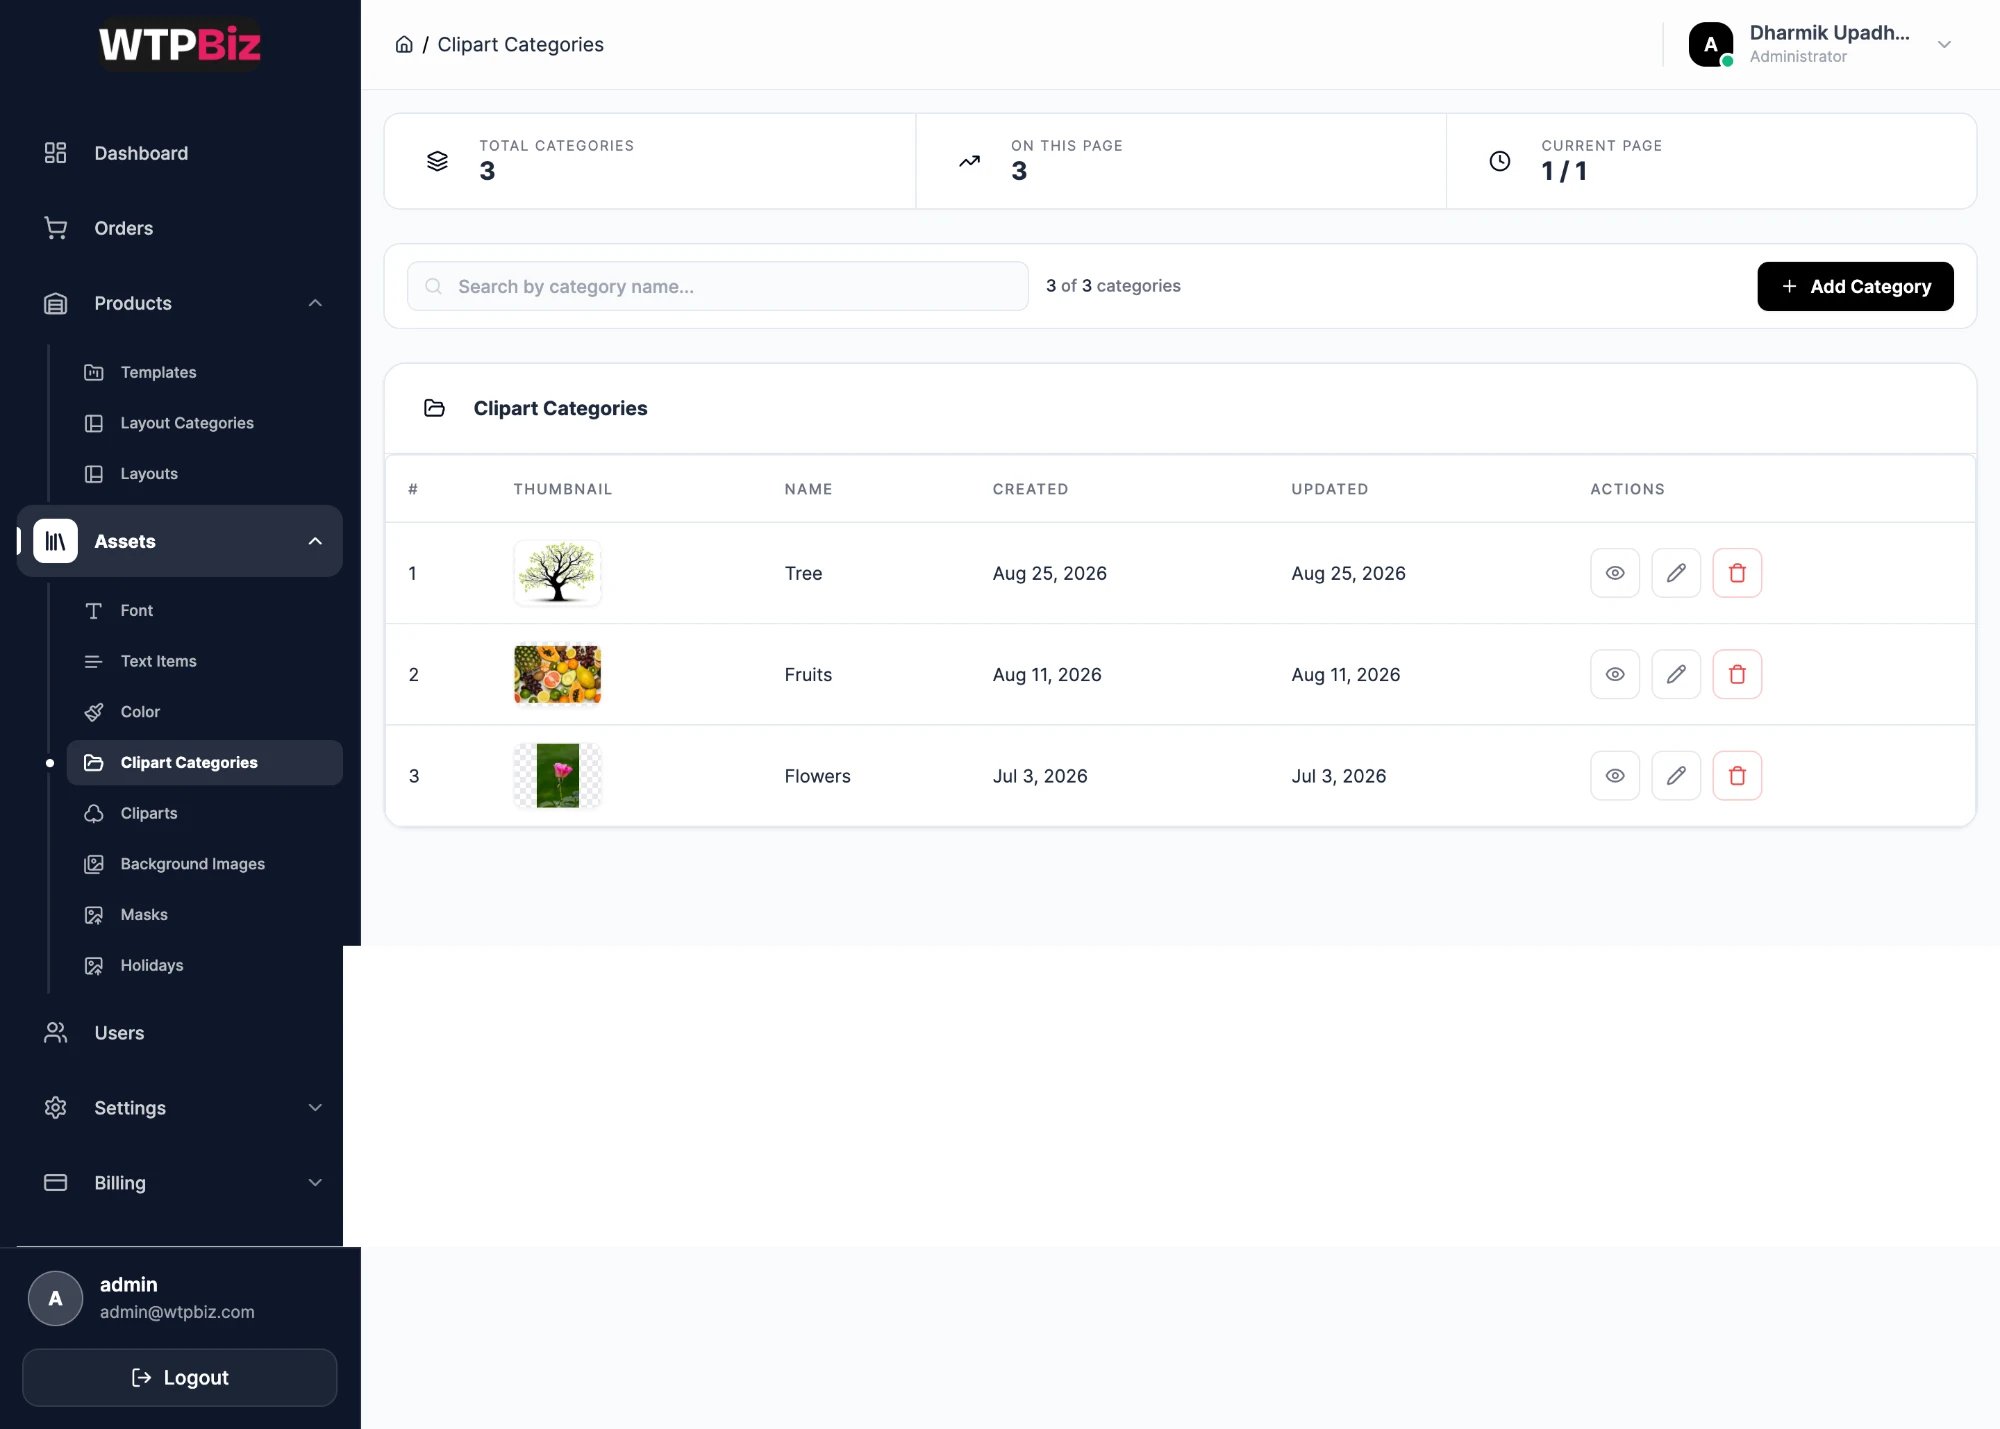 Categories group clipart in the editor, for example Tree, Fruits and Flowers. Create a category with **Add Category** before adding cliparts to it.
## Cliparts
Go to **Sidebar > Assets > Cliparts**.
Categories group clipart in the editor, for example Tree, Fruits and Flowers. Create a category with **Add Category** before adding cliparts to it.
## Cliparts
Go to **Sidebar > Assets > Cliparts**.
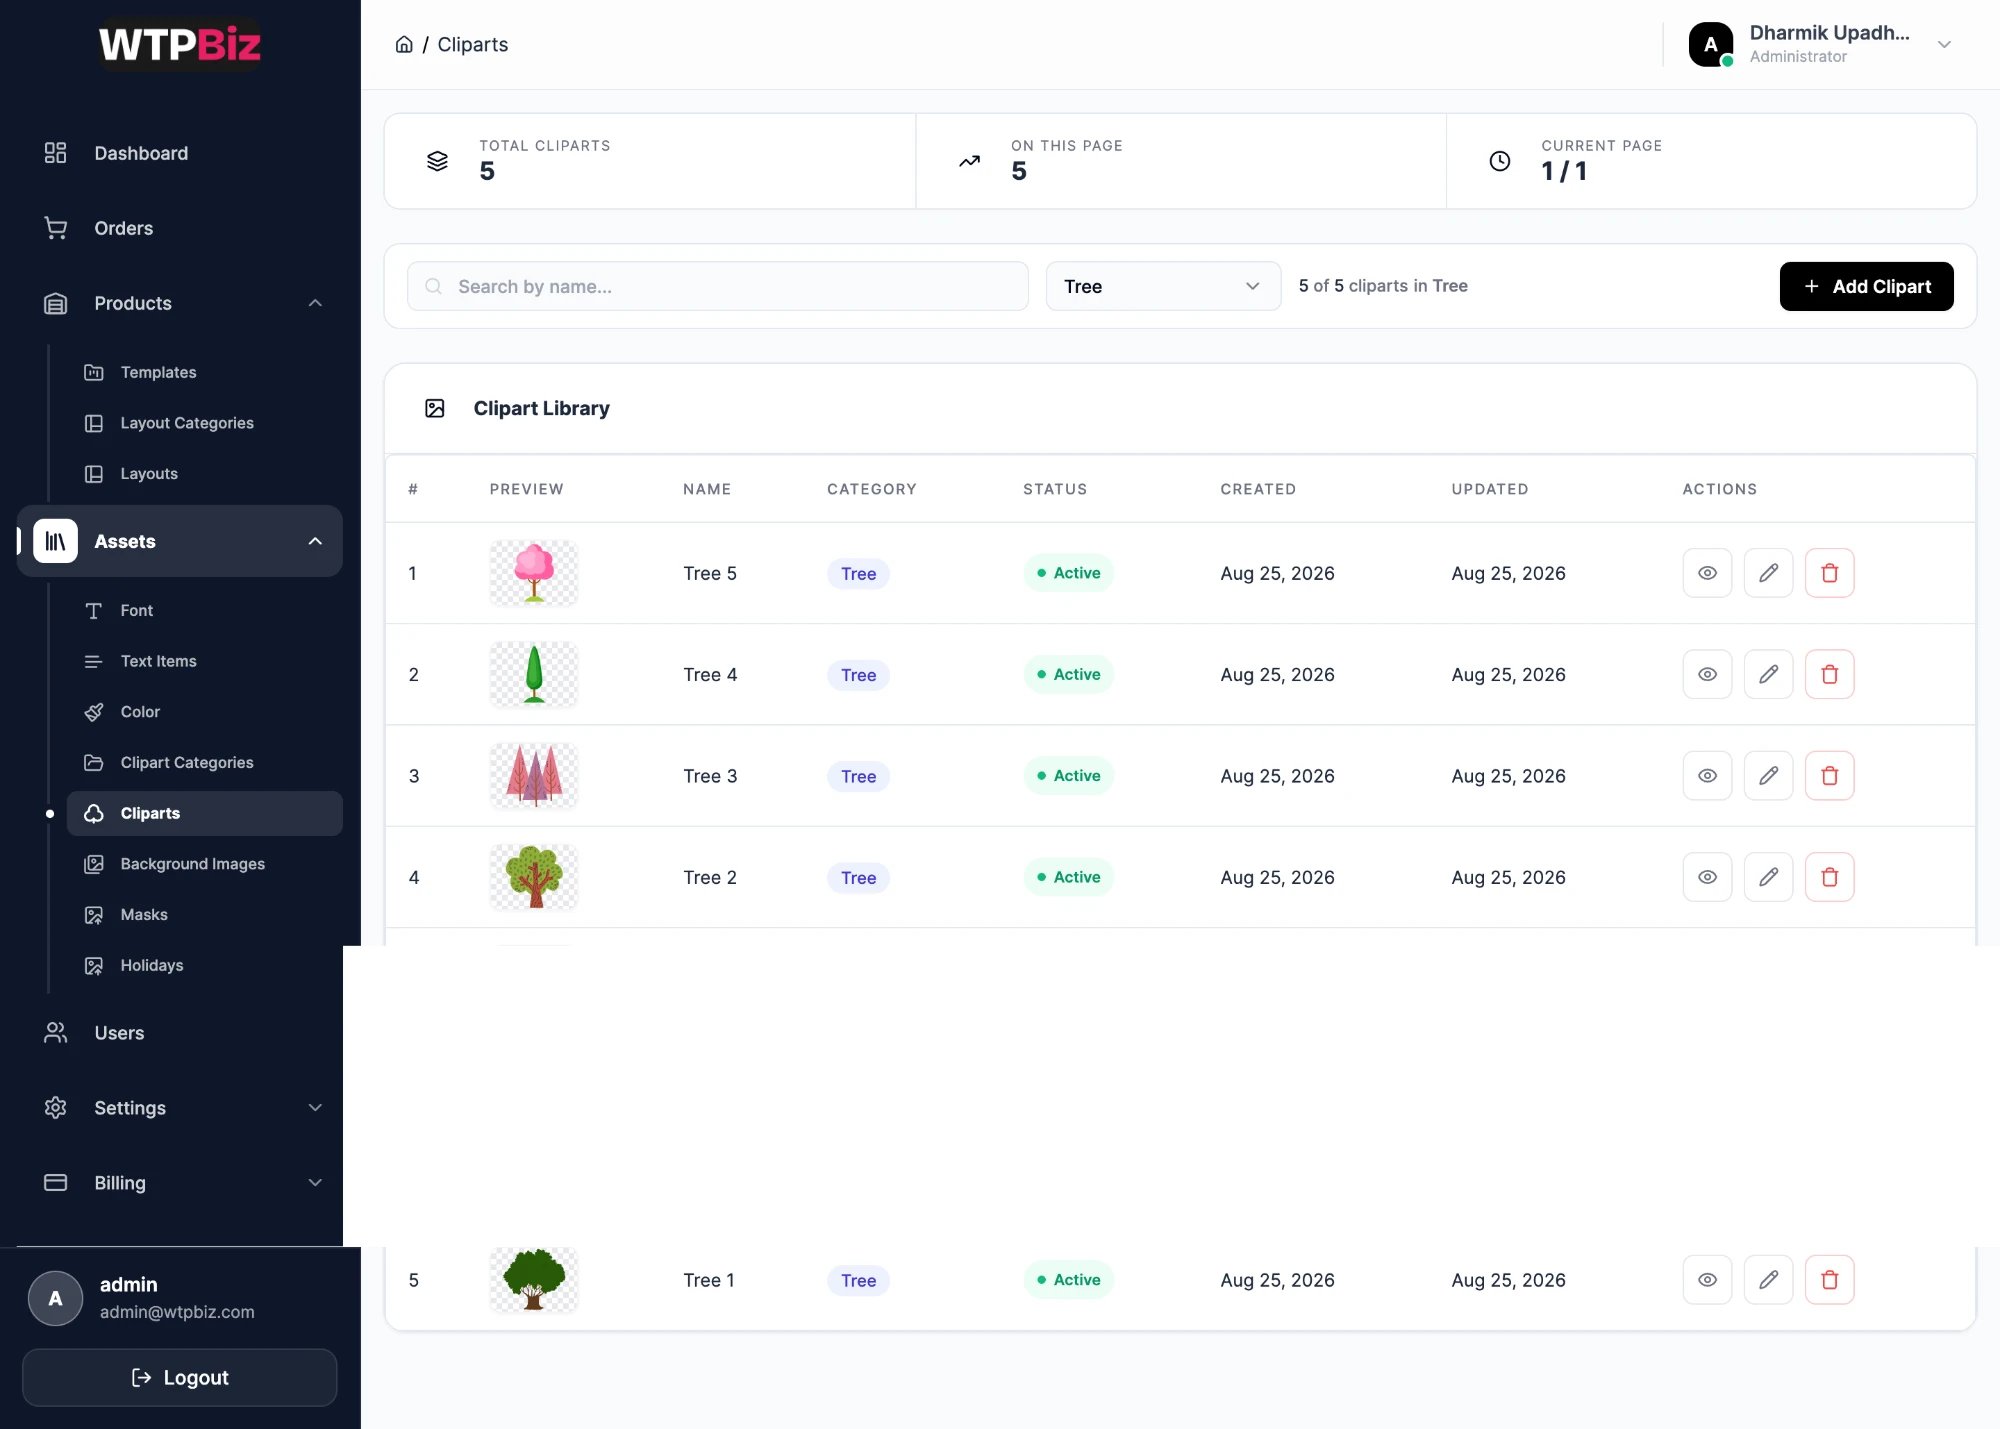 Cliparts are stickers and decorations customers place on pages. Use the category dropdown to show one category at a time. Click **Add Clipart** to upload an image and assign its category.
Transparent PNG files work best for cliparts.
## Background Images
Go to **Sidebar > Assets > Background Images**.
Cliparts are stickers and decorations customers place on pages. Use the category dropdown to show one category at a time. Click **Add Clipart** to upload an image and assign its category.
Transparent PNG files work best for cliparts.
## Background Images
Go to **Sidebar > Assets > Background Images**.
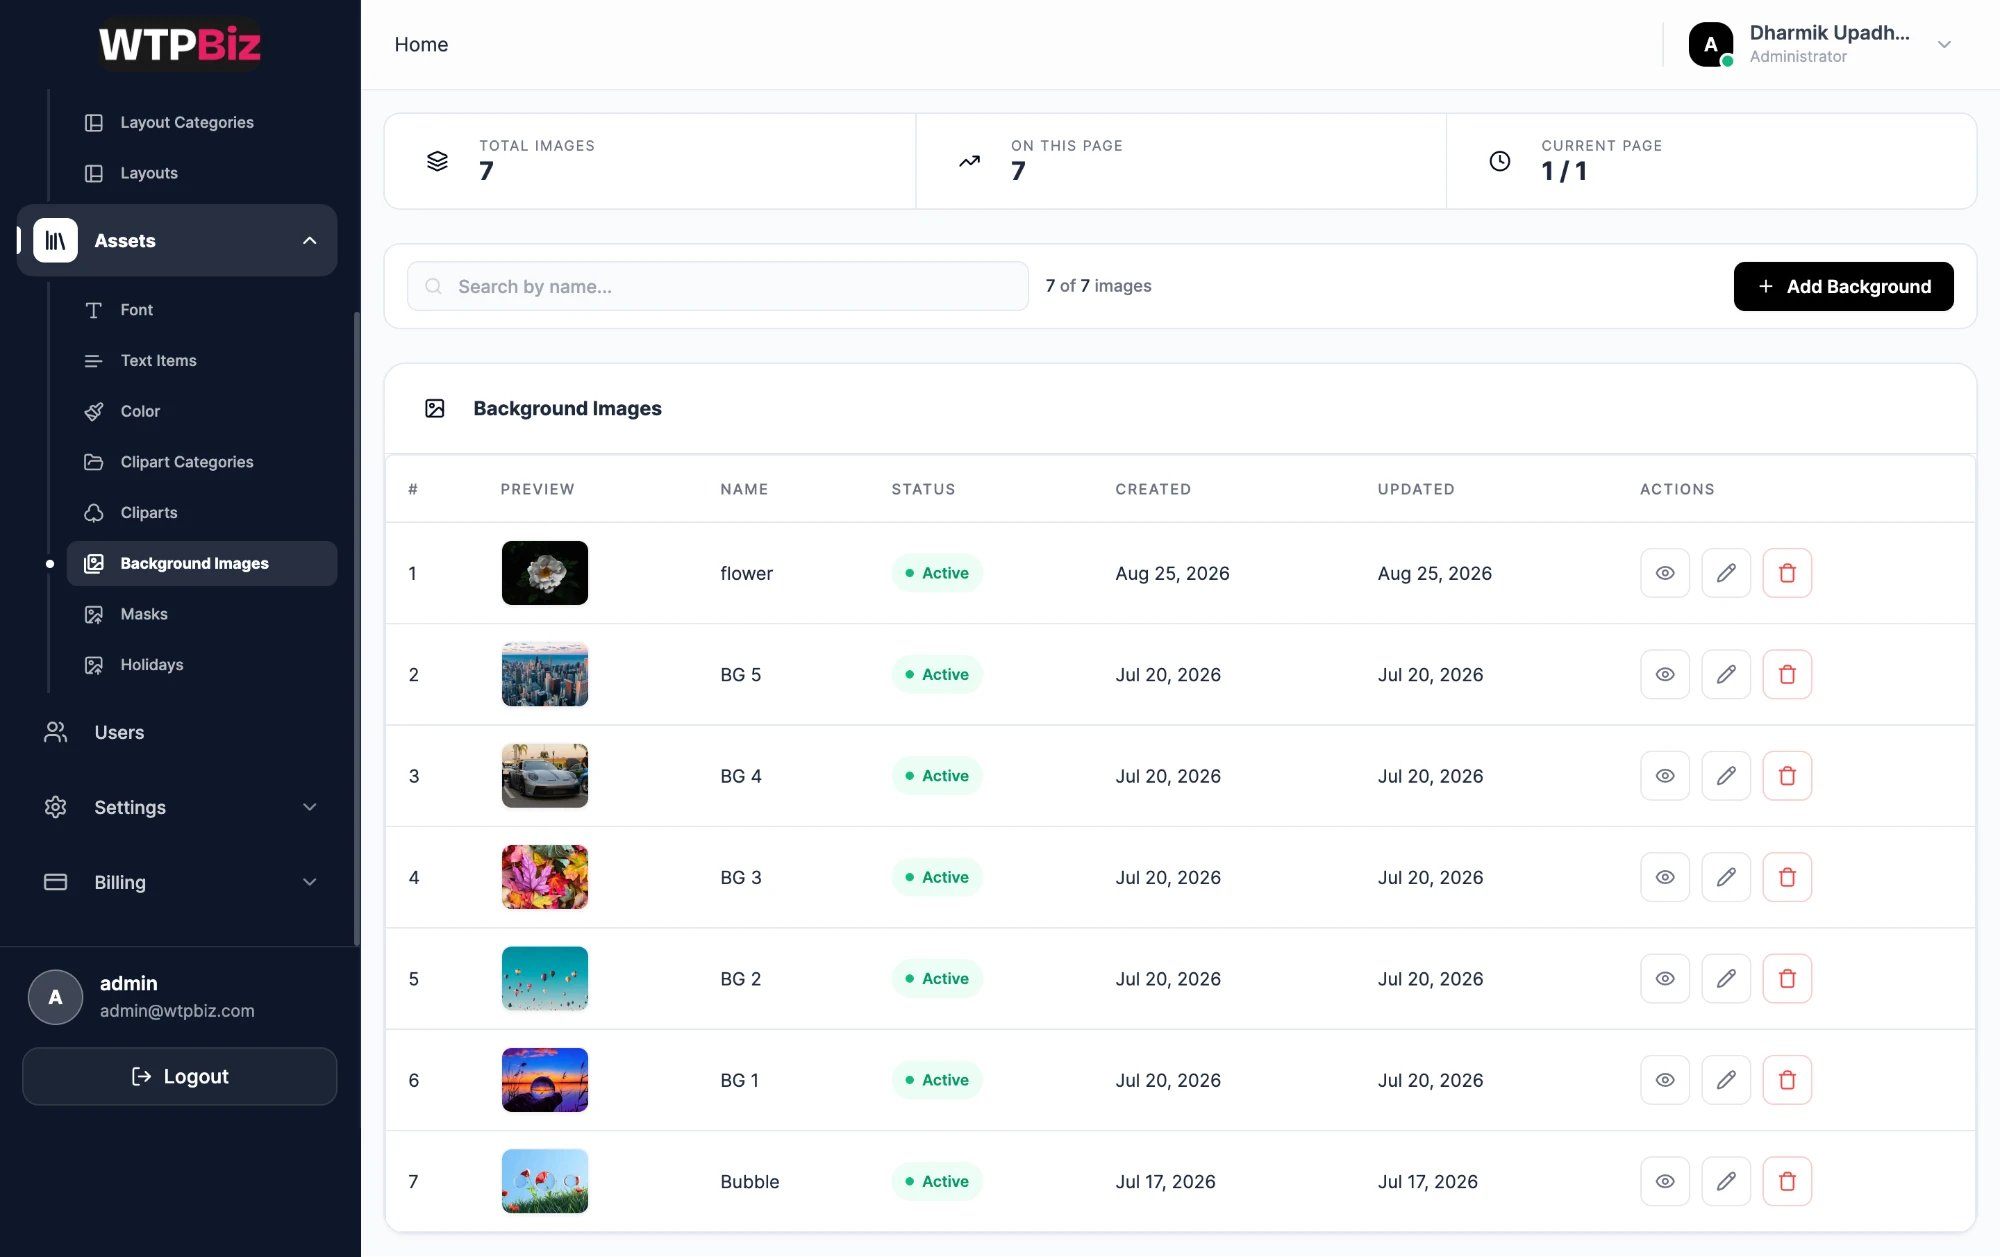 Full-page images customers can set behind a page. Click **Add Background** to upload a new one.
Upload backgrounds at print resolution (300 DPI at the page size). A background covers the whole page, so small files print blurry.
## Masks
Go to **Sidebar > Assets > Masks**.
Full-page images customers can set behind a page. Click **Add Background** to upload a new one.
Upload backgrounds at print resolution (300 DPI at the page size). A background covers the whole page, so small files print blurry.
## Masks
Go to **Sidebar > Assets > Masks**.
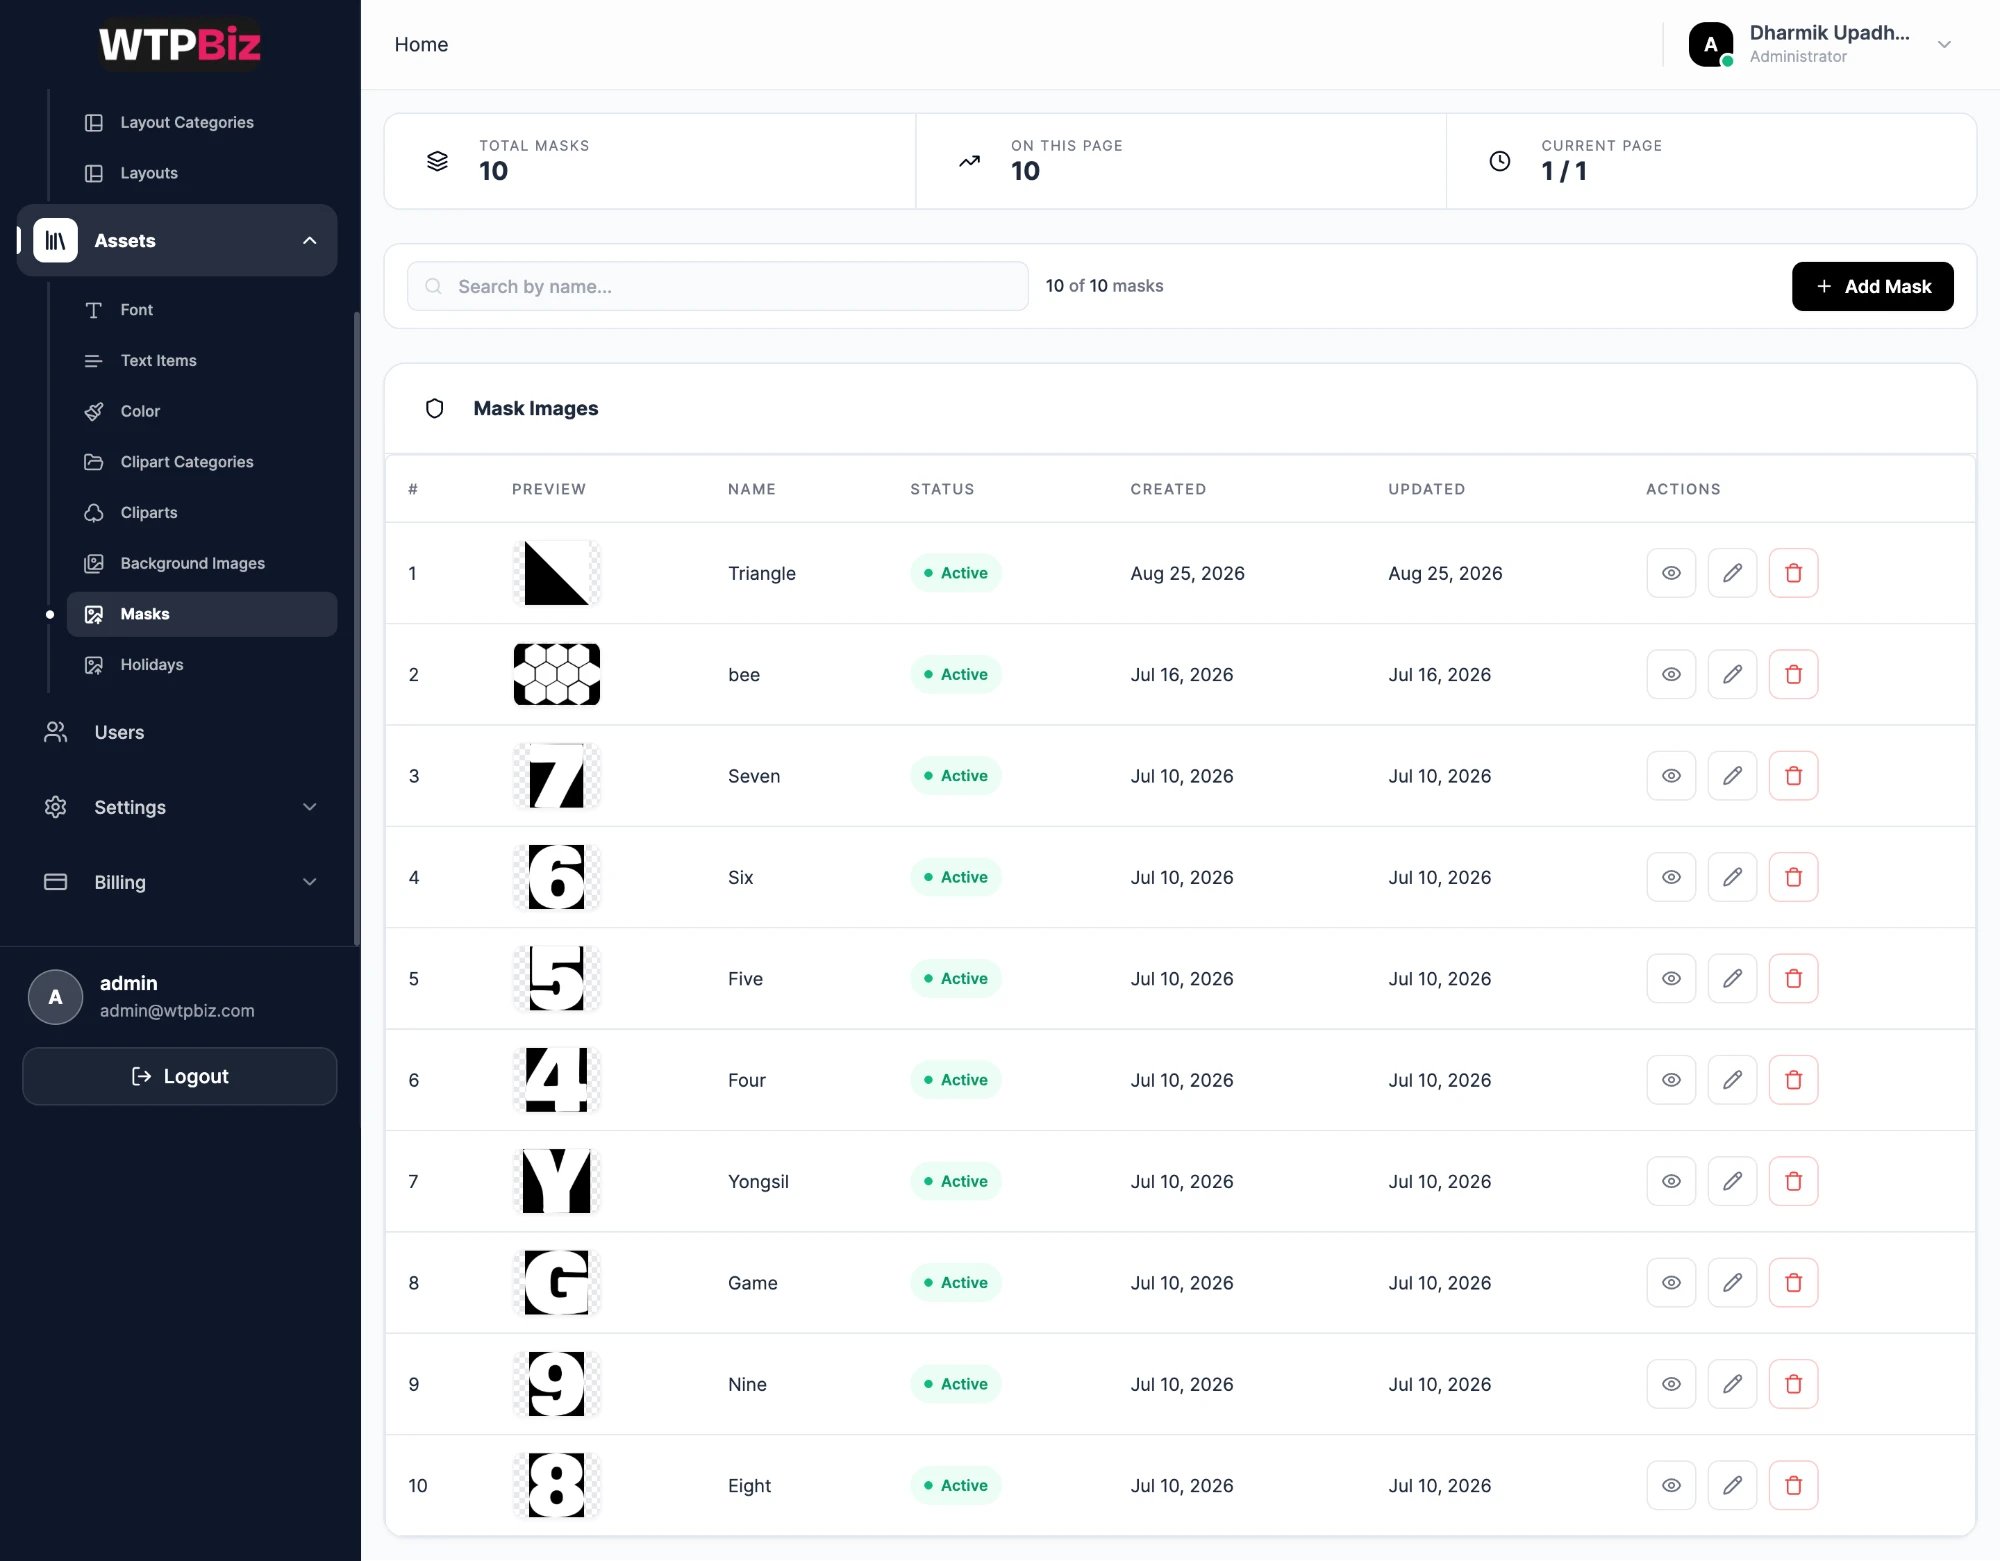 A mask is a shape a photo is clipped into. The black area shows the photo and the transparent area hides it, so customers can place a photo inside a number, letter or pattern. Click **Add Mask** and upload a black shape on a transparent background.
## Holidays
Go to **Sidebar > Assets > Holidays**.
A mask is a shape a photo is clipped into. The black area shows the photo and the transparent area hides it, so customers can place a photo inside a number, letter or pattern. Click **Add Mask** and upload a black shape on a transparent background.
## Holidays
Go to **Sidebar > Assets > Holidays**.
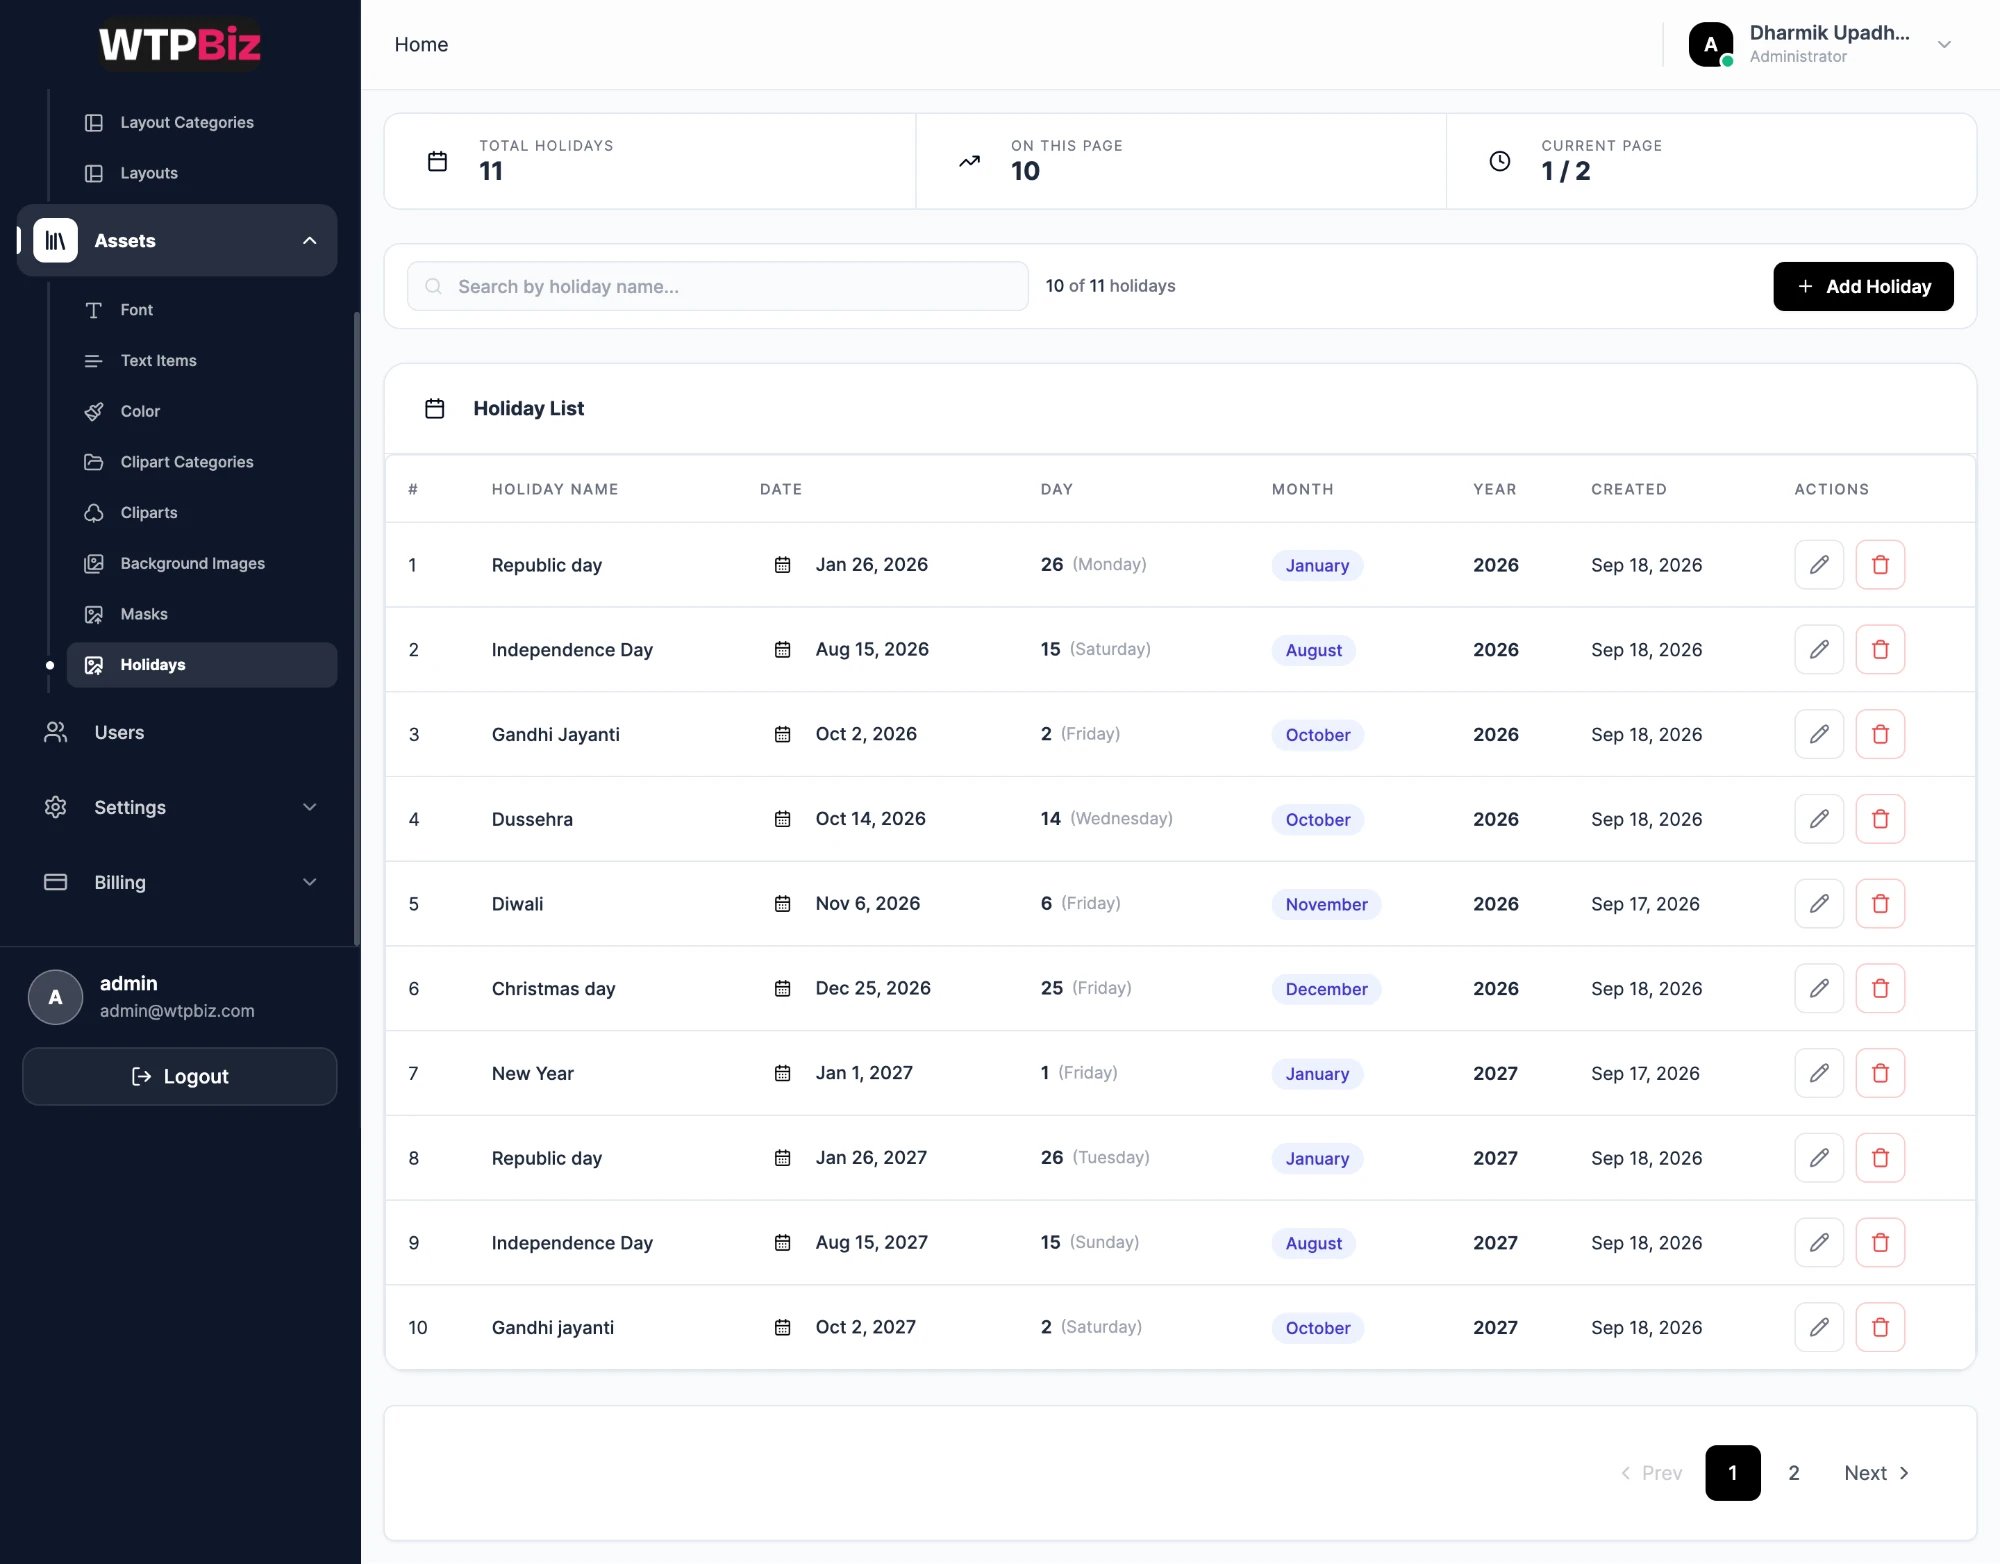 Holidays are marked in red on calendar grids. Each row shows the name, date, day, month and year. Click **Add Holiday** to add one.
Holidays are set per year. Before selling calendars for a year, add every holiday for that year and your market. A 2027 calendar only shows holidays entered for 2027.
Holidays are marked in red on calendar grids. Each row shows the name, date, day, month and year. Click **Add Holiday** to add one.
Holidays are set per year. Before selling calendars for a year, add every holiday for that year and your market. A 2027 calendar only shows holidays entered for 2027.