> ## Documentation Index
> Fetch the complete documentation index at: https://help.wtpbiz.com/llms.txt
> Use this file to discover all available pages before exploring further.
# Sizes
> Configure frame size options for Photo Frame Customizer
## Sizes Overview
The **Sizes** section lets you define the frame dimensions that customers can choose from. Each size has width, height, and optional mat (border) dimensions.
 ## Adding a Size
1. In Photo Frame Customizer, navigate to **Sizes** in the sidebar.
2. Click **Add Size**.
3. Fill in the size details:
* **Size Name** — Enter a descriptive name (e.g., "4×6", "8×10", "11×14", "16×20").
* **Width** — Set the frame width in inches (or your preferred unit).
* **Height** — Set the frame height in inches.
* **Mat Width** — (Optional) Set the mat/border width if your frames include a mat.
4. Click **Save** to add the size.
## Size Naming Tips
Use clear, recognizable names that customers will understand:
* Standard photo sizes: "4×6", "5×7", "8×10", "11×14"
* Square formats: "8×8", "12×12"
* Large format: "16×20", "20×24"
## Managing Sizes
* **Edit:** Click the edit icon next to any size to update its dimensions or name.
* **Delete:** Click the delete icon to remove a size option.
* **Reorder:** Drag sizes to change the order they appear in the customer customizer.
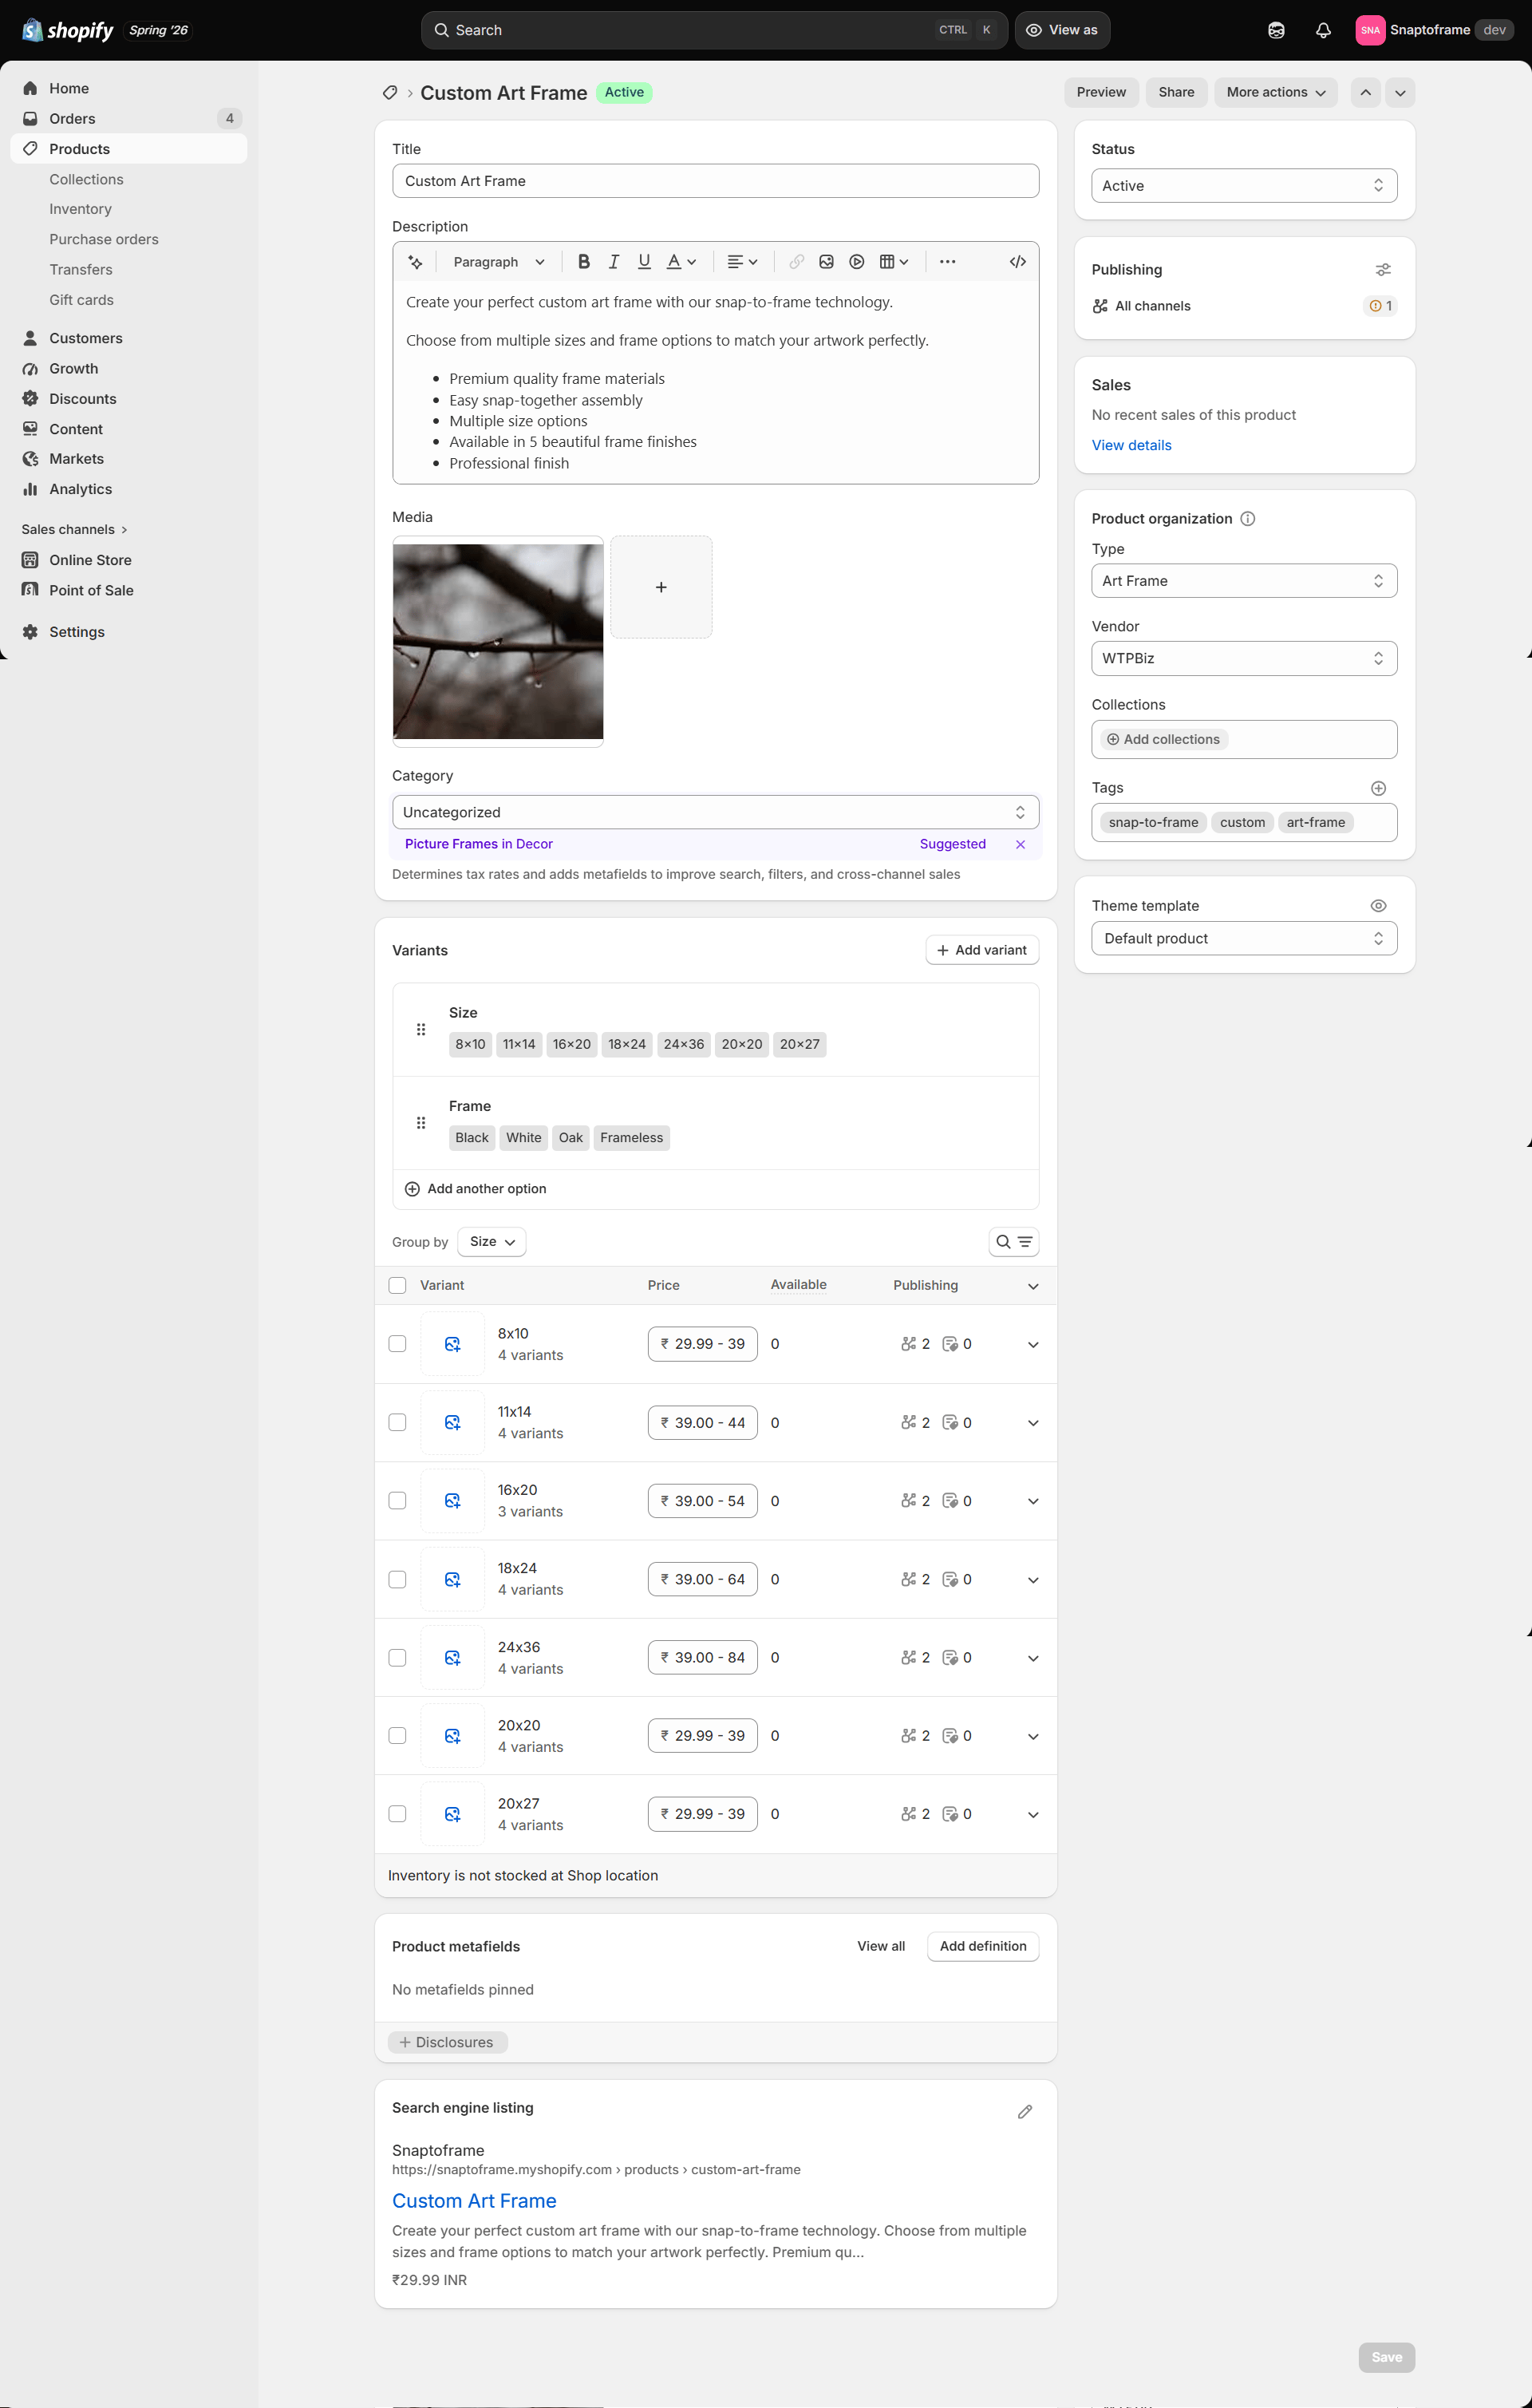
Make sure the sizes you configure here match the variants you have set up on your Shopify product. Mismatched sizes may cause issues at checkout.
## Adding a Size
1. In Photo Frame Customizer, navigate to **Sizes** in the sidebar.
2. Click **Add Size**.
3. Fill in the size details:
* **Size Name** — Enter a descriptive name (e.g., "4×6", "8×10", "11×14", "16×20").
* **Width** — Set the frame width in inches (or your preferred unit).
* **Height** — Set the frame height in inches.
* **Mat Width** — (Optional) Set the mat/border width if your frames include a mat.
4. Click **Save** to add the size.
## Size Naming Tips
Use clear, recognizable names that customers will understand:
* Standard photo sizes: "4×6", "5×7", "8×10", "11×14"
* Square formats: "8×8", "12×12"
* Large format: "16×20", "20×24"
## Managing Sizes
* **Edit:** Click the edit icon next to any size to update its dimensions or name.
* **Delete:** Click the delete icon to remove a size option.
* **Reorder:** Drag sizes to change the order they appear in the customer customizer.
Make sure the sizes you configure here match the variants you have set up on your Shopify product. Mismatched sizes may cause issues at checkout.